
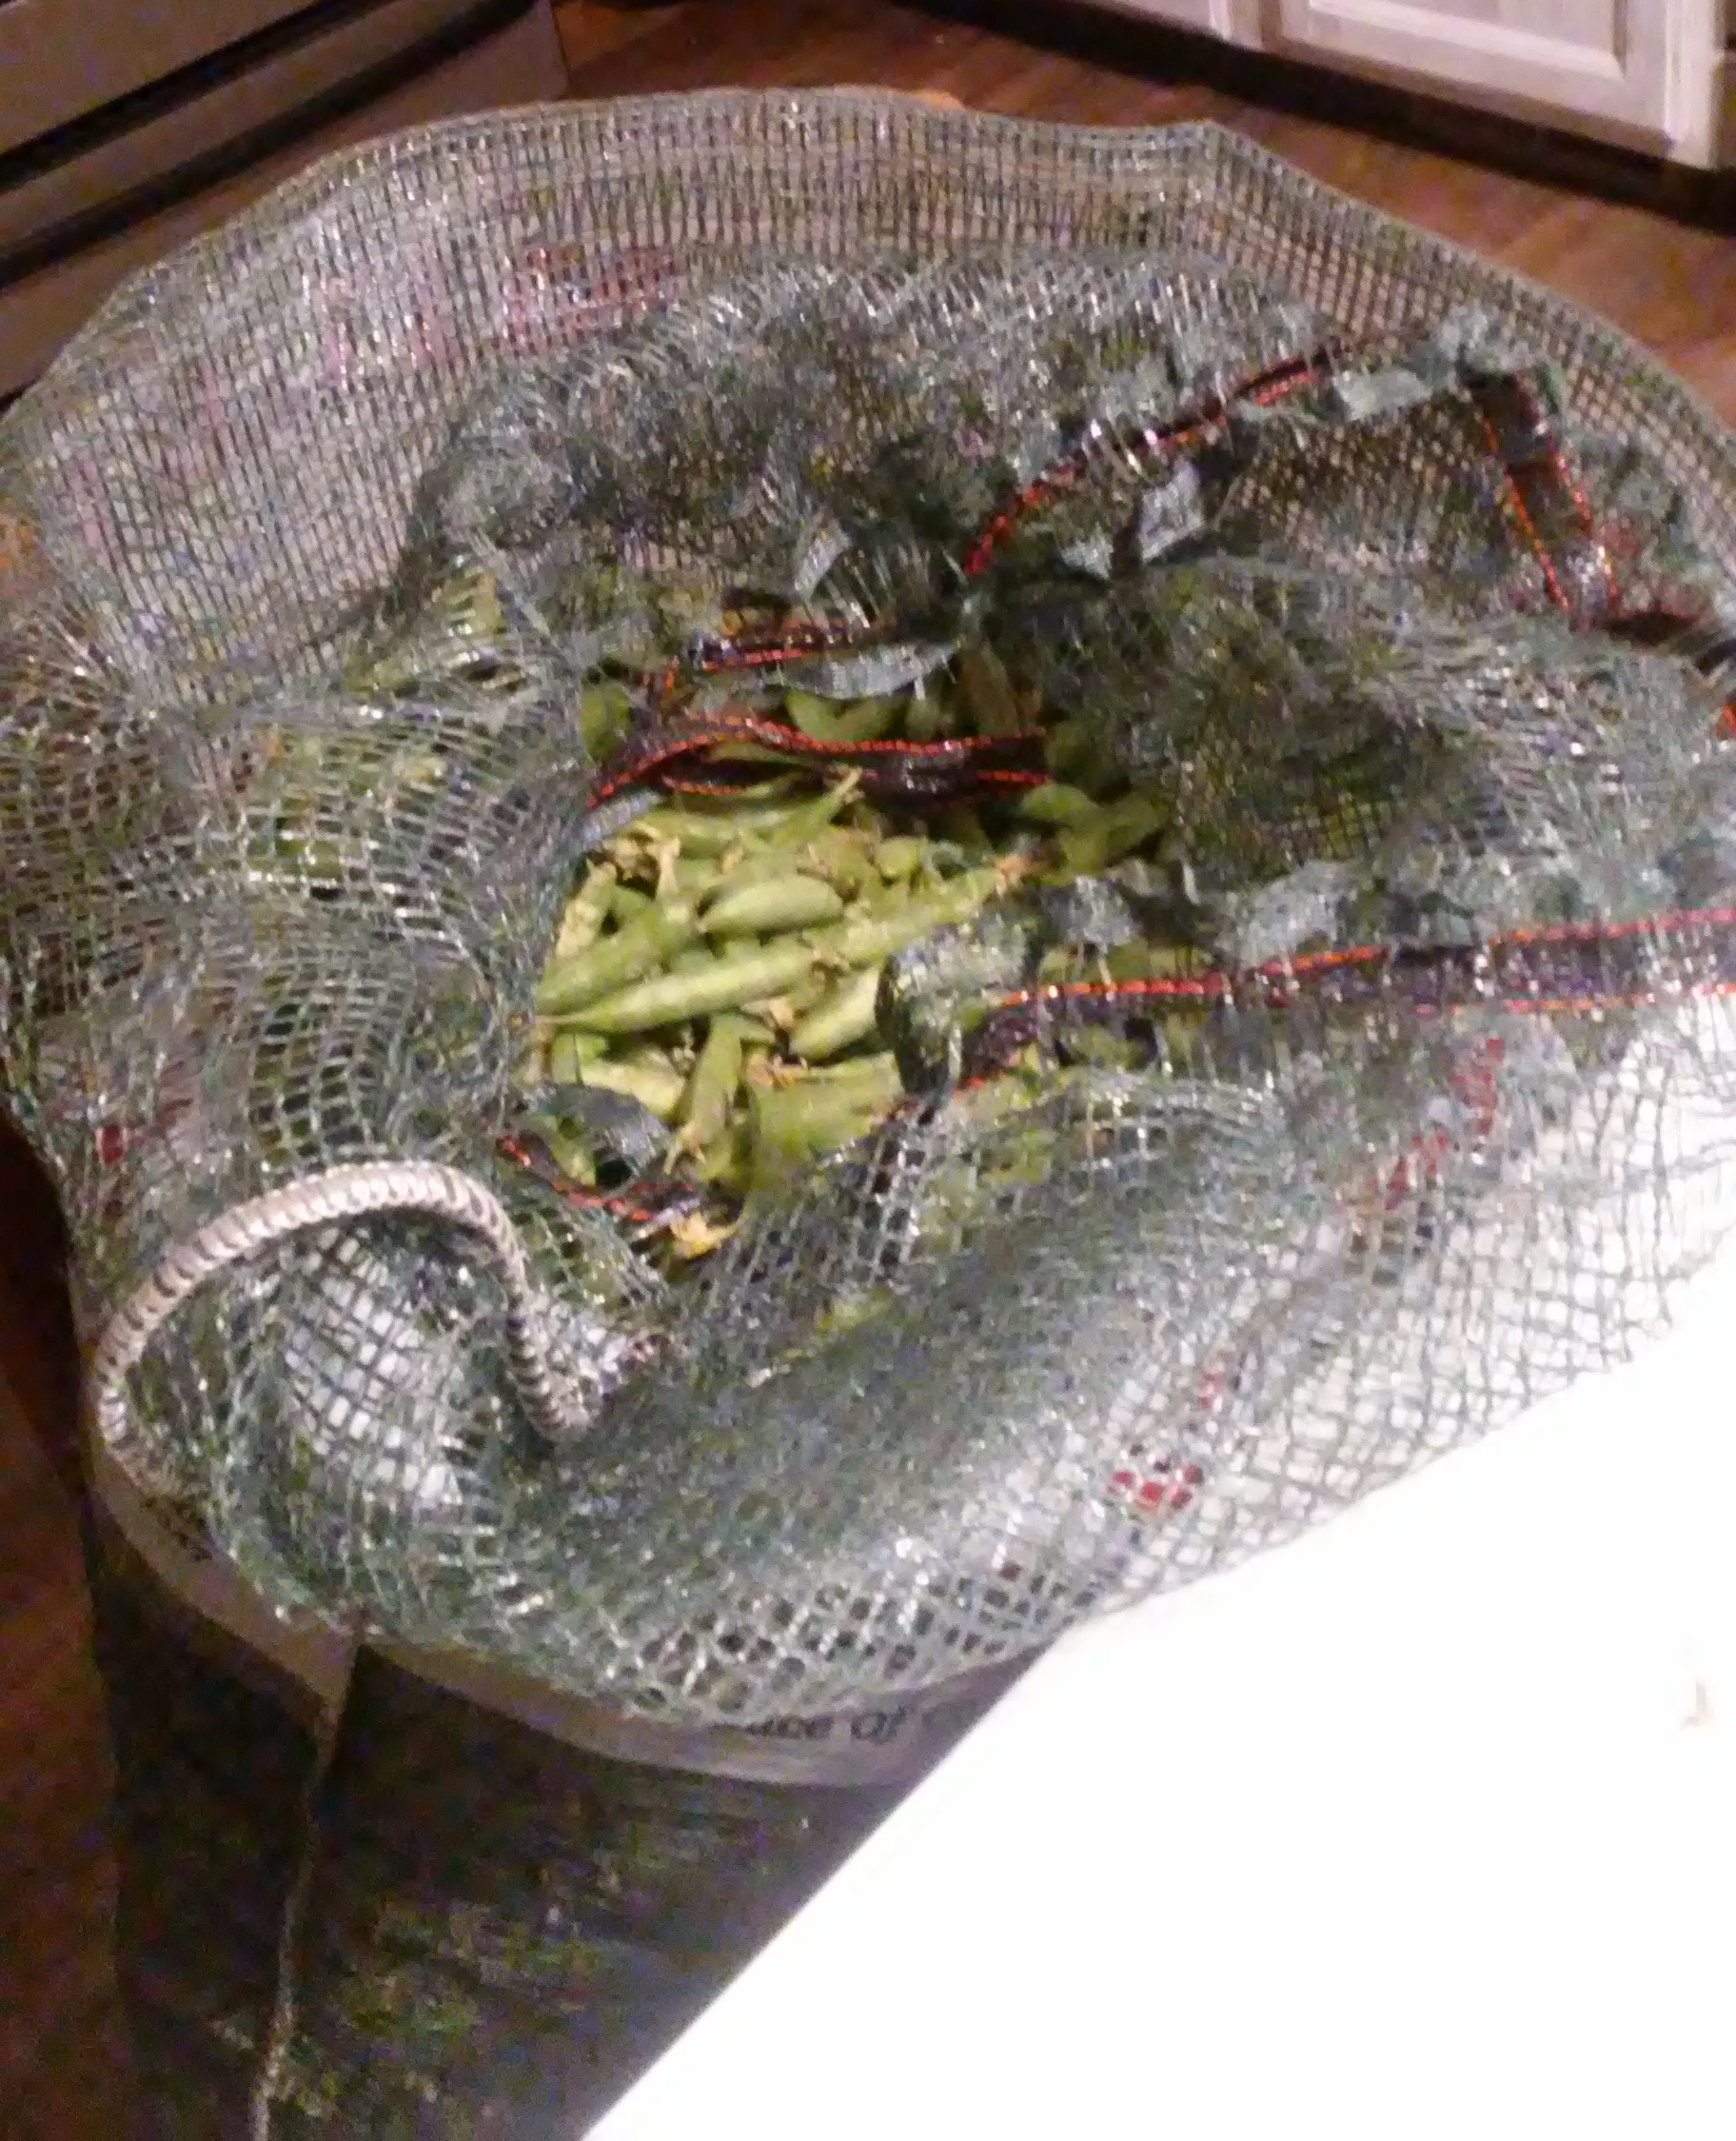
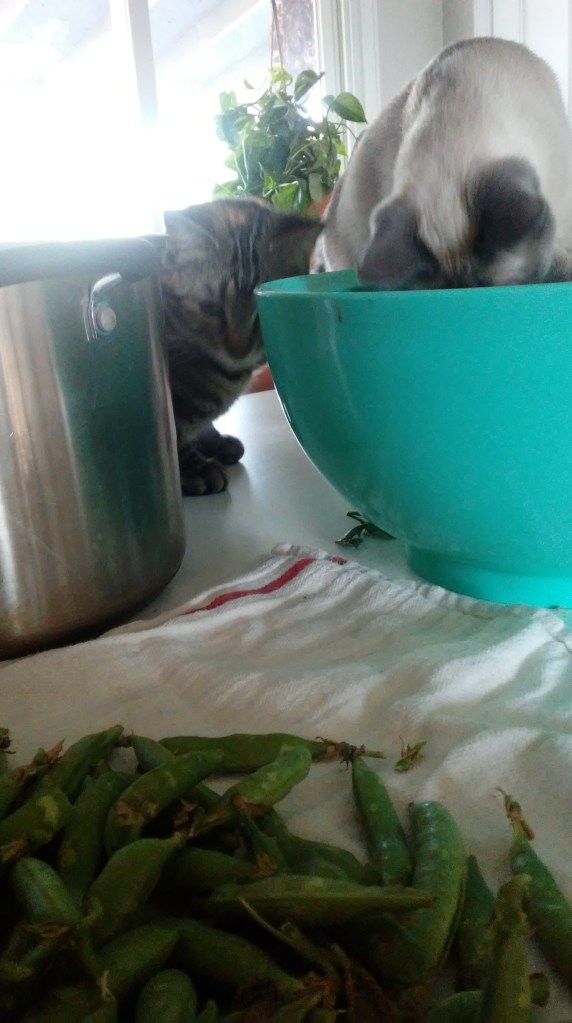
Things got more efficient after we began using a paring knife to slice down the seam of the pods to free the spring peas. “Everyone is getting a scheduled C-section!” Doug declared. It certainly made us faster as we shelled thirty-seven pounds of peas.
Is it worth it?
Hail destroyed the majority of our peas and what survived is scarcely giving us garnishes for our salads so we bought over a bushel from a local farm. The cost was fairly reasonable for organic peas but once we add our time in, it is still a good deal? We are using clean glass jars instead of BPA cans at the store (healthier), organic, local peas are unheard of in the grocery store (lower footprint, fresher food), and homesteading is not only my job, but our lifestyle and having fresh peas that we put up in January? Yes, please. There is also the by-product of shelling peas. The pea pods become delicious broth, animal feed, and compost. Definitely worth it!
How to can peas:
Use clean, pint-sized canning jars. Never mind with all that boiling and what have you, just line them up in the sink and pour a kettle of boiling water over and in the jars. The point of boiling the jars was to make sure they were clean and to heat them up so that they didn’t break in the canner. We are achieving the same thing with the kettle of water. Use new lids and pour boiling water over them as well.
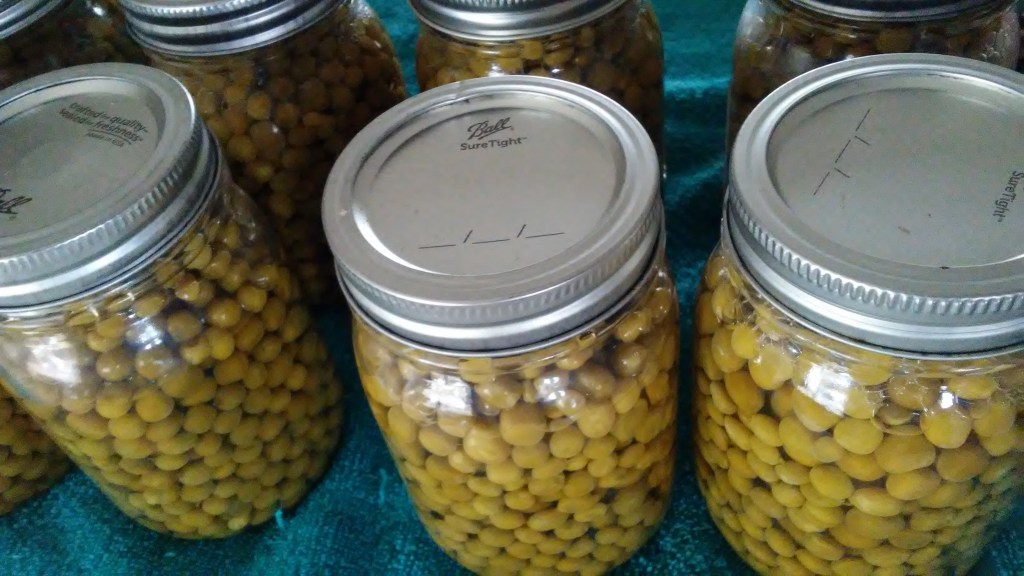
Fill jar leaving one inch headspace (one inch from the top) with peas. Add 1/2 teaspoon of sea salt. Pour water in still leaving that 1 inch headspace.

You can get creative with peas. Add any dried seasoning to enhance the flavors for a heat-and-serve side dish. In four of the jars I added the 1/2 teaspoon sea salt (do remember that salt is a necessary nutrient and sea salt is not the same as added sodium in processed food.), along with 1 teaspoon of lemon pepper and 1/2 clove of garlic.

Wipe off rim and place a lid and ring on to the jar. Not too tight!
Place in pressure canner filled with 3 inches of water. Replace lid to canner and turn to high. When the shaker starts a shakin’, turn it down a smidge but make sure that the shaker keeps shaking.
Pressure can for 40 minutes. (If you are normal altitude, use 10 lbs of pressure. For us high altitude folks we always use all the weights.)
Turn off heat and let the pressure release naturally. Then line the jars up on a towel and let cool and seal. The next day label and put away.
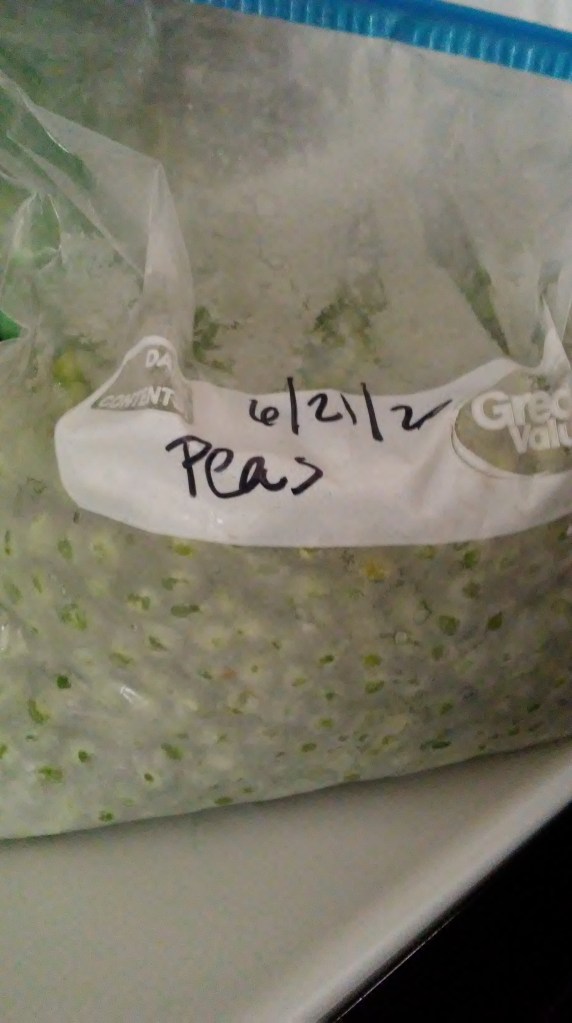
Over a bushel of peas took us a long time to shell and process BUT we ended up with over a gallon of frozen peas (click here for how-to) and 13 pints of delicious spring peas to enjoy all winter long.
Homesteading is an amazing way to take back one’s own food system, be able to feed one’s family with amazing, organic food, and always have food on the shelf. Preparation is a great thing!

I can’t wait to start canning! We started our garden this spring and since then have learned a lot. Plan on planting peas in mid August (I live in Texas) for a fall crop and can them. What kind/brand of pressure canner did y’all use?
I got the one at Walmart! It was about $65. Then I bought a second and I really am glad I did. I have had them for years and they work great.