
Starting seeds at home is a great way to try grow many different plants and be able to get a jump start on the season. Tomato starts, for example, can be pricey, and if you are planning on canning 200 jars of tomatoes, you are going to need a fair amount of plants. Being able to grow certain varieties that are not available in nurseries is another benefit. Every year the wind knocks some of my dried chile pods off my ristras from Taos, New Mexico, and the seeds shatter. This year I planted them alongside other chilies I am starting from seed. Mmm, delicious, homegrown red chile!
This here blog is filled with every bit of information you could ever want to learn about homesteading, farming, animal care, and self reliance, but I will tell you a secret…it is built on years of failures! Can’t learn until you kill ten dozen seedlings with root rot, right? I have written about different ways to start seeds every year, and they all work, but anymore, I am keeping it simple. One year I bought a very expensive grow light to start all my seeds. My children were teenagers at the time and one of them sold it to some kids so they could grow pot. Luckily, one doesn’t need a grow lamp to start seeds! You just need a sunny window, some recycled containers, and potting soil.
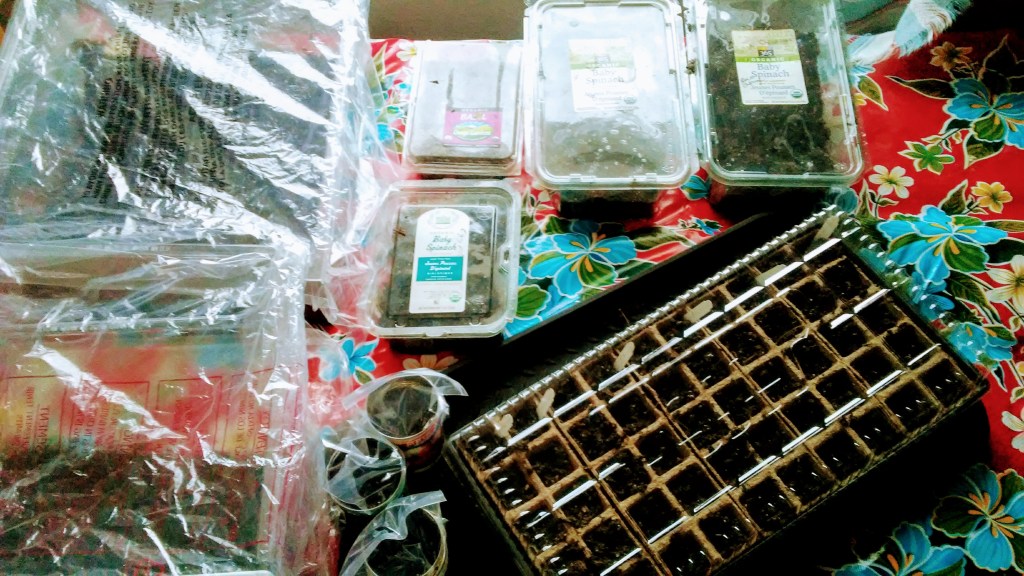
Recycled Containers

I never throw away salad containers with lids, they work amazing as mini-greenhouses!
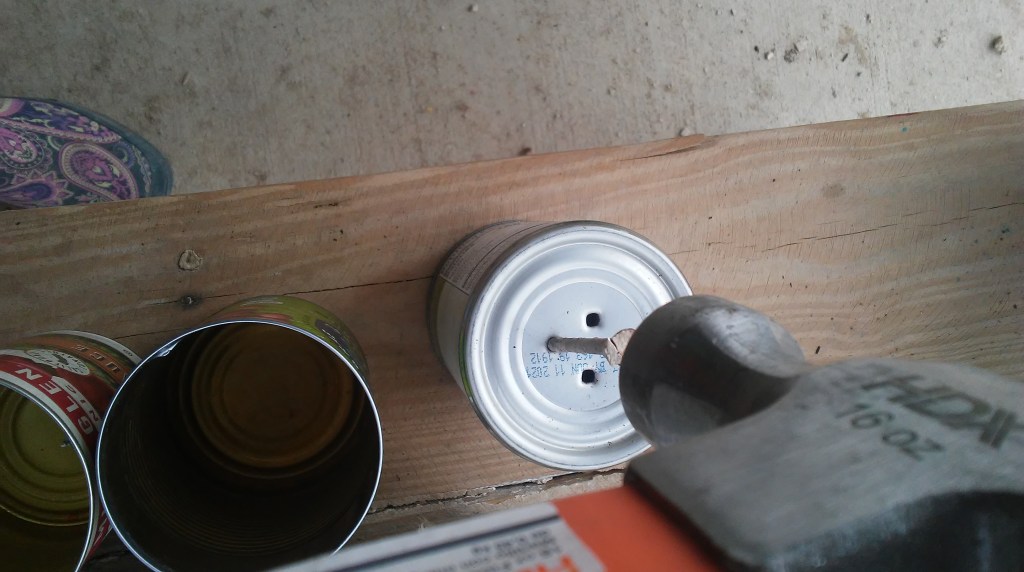
You can also save tin cans and punch a few holes in the bottom. These work well because the plant can grow in them all the way up until it is time to transplant to the garden. The less you can disturb the plant the better, so I tend to use larger receptacles.
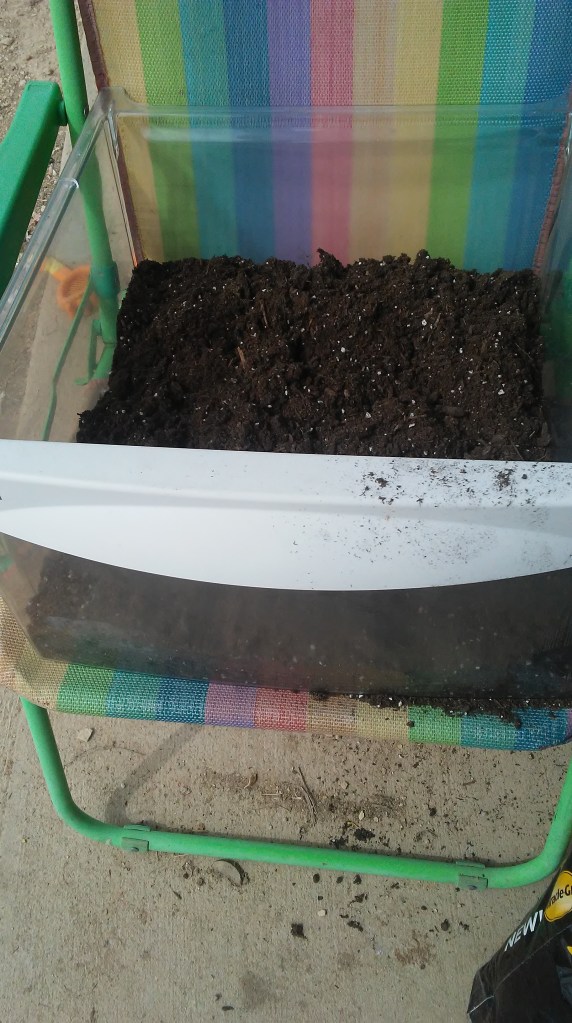
I even utilized old drawers from a broken refrigerator. They are clear so I can see how the roots are doing, if enough light reaches the plant, and I can plant many seeds in one container.
Potting Soil
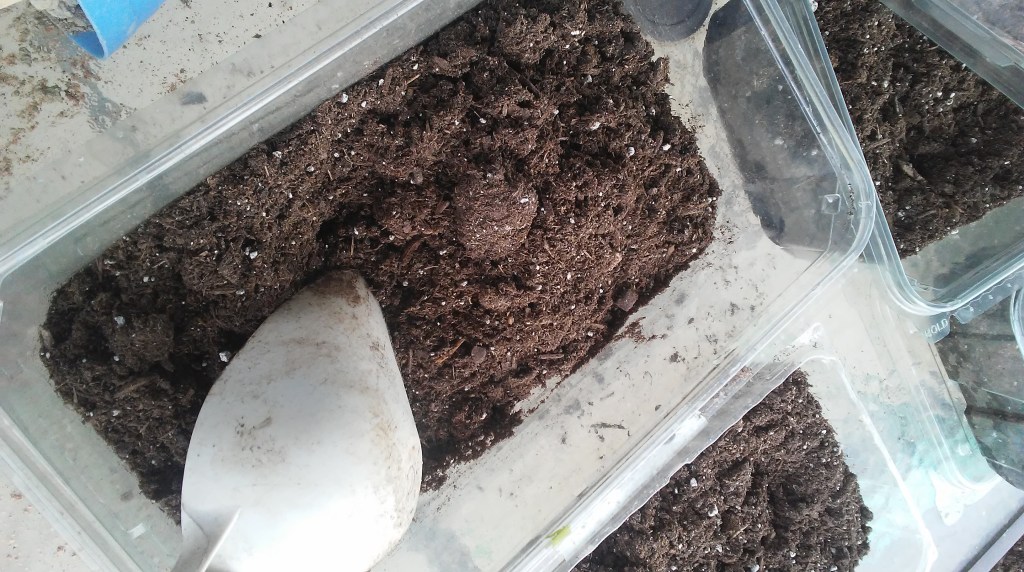
I use potting soil instead of seed starting medium because I don’t have to transplant as quickly. The seeds germinate just fine and grow well. Purchase organic potting soil. Fill containers 3/4 of the way with soil and pour water over. Let the soil soak it up (it can hold a lot of water) and stir well, adding more soil or more water to make it evenly damp.
Plant Seeds
Seeds love to grow. Plant one or two seeds every three inches. I generally only plant one. That way I don’t waste seeds. I like to save some of the seeds to direct plant in case something goes awry with the seed starting endeavor (cats, lack of sun, over-watered…).
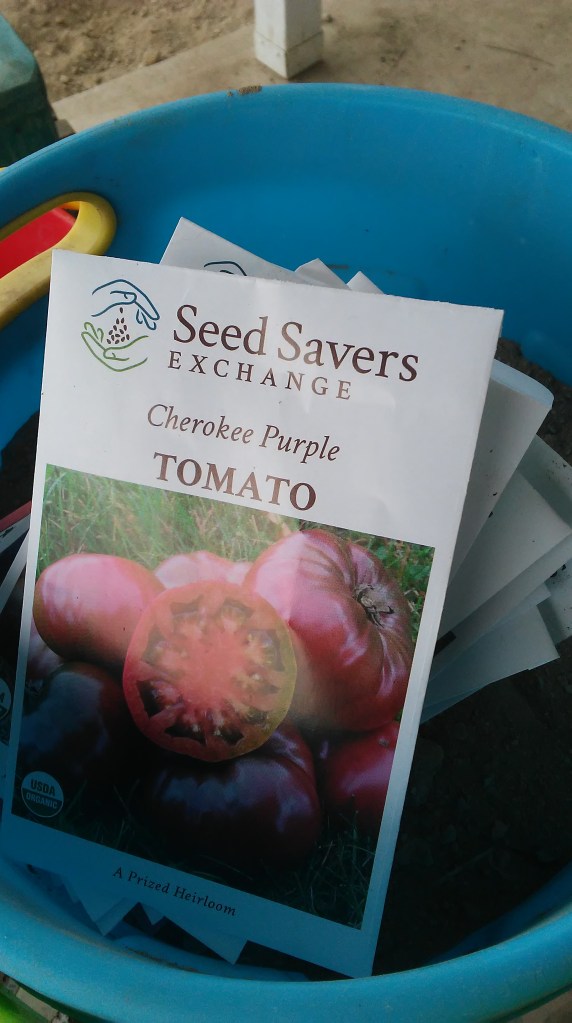
I plant things that need a longer growing season, like peppers, tomatoes, and eggplant. I planted paprika, red chilies, green chilies, ancho chilies, Cherokee purple tomatoes and cherry tomatoes for fresh eating, and Brimmer pink and Romas for canning, Sunberries for fresh fruit, and rosemary. (All other herb seeds will be direct planted.)
Cover Plants

We want to simulate a greenhouse environment in the guest room. Covering the plants creates that condensation effect. I place sandwich bags over the cans and secure with a rubber band. I placed plastic bags that contained our vacuum parts when new over the refrigerator drawers. I used the lid that came with the mini-greenhouse. And I placed the lids back on the salad containers.
Enough Sun
Finding enough sun in this house for plants is going to be a challenge. Ideally, the plants would be set up on a table in our bedroom in front of the southwest facing window, and the cats highly agree. There is nothing more they would like to do but spill pots of seeds onto the carpet. It’s great fun, you know. Now that my husband is working from home, he has taken over the office. That leaves the guest room, which can be closed and might be ideal. I covered the bed with an oil cloth tablecloth to protect it. The room faces northeast. That is not ideal so I will have to keep an eye out and make sure enough sun is hitting the plants and that the water is continually evaporating and raining back over the plants. If not I will need to move them to prevent the seeds/seedlings from rotting away.
Water
Do not overwater! Those little legs can’t sit in water. Every few days mist with a water bottle. As the seedlings outgrow their lids, begin to lightly water as needed.
Transplants
Start seeds 6-8 weeks before the last frost date. Before you transplant, let soil dry out a bit and it will be easier to pop them out of their containers. Transplant seedlings into bigger containers as needed. Remember, that most of these plants that you are starting from seed are tropical plants in nature, so give them lots of mist and sun and they will be happy! And you will be happy come salsa season!

Great tips! As a peanut butter addict I suddenly realize I have an abundance of seed starting pots available in my recycle bins. I can grab a hacksaw and cut off the narrowed tops and they’d be perfect.
I just started some seeds yesterday. Here in Northwest Georgia it’s warm enough to keep them outside now, which tells you that I’m late doing this, but better late than never.
I think your timing is perfect!
We are nearly home a month early so I can get right on with the seed planting! Just hoping stores stay open a few more days so I can get some potting compost. Love the recycling 😊
Safe travels my friend!