
My first batch of cheese this year was started with Miss Isabelle’s delicious, frothy, rich milk. I am going to show you how to make a variation of Guido’s Cheese from the book “Home Cheese Making” by Rikki Carroll. I chose this one to demonstrate because it is forgiving and versatile, a perfect first hard cheese. I gleefully fed my friends it last summer along with red wine and homemade pickles. It is truly delightful to make your own cheese. All winter, after I had run out I begrudgingly bought cheese. Oh, the horror! (expensive stuff) This year I will produce enough to put up for winter and include it in our milk share from our farm so others can try it too.

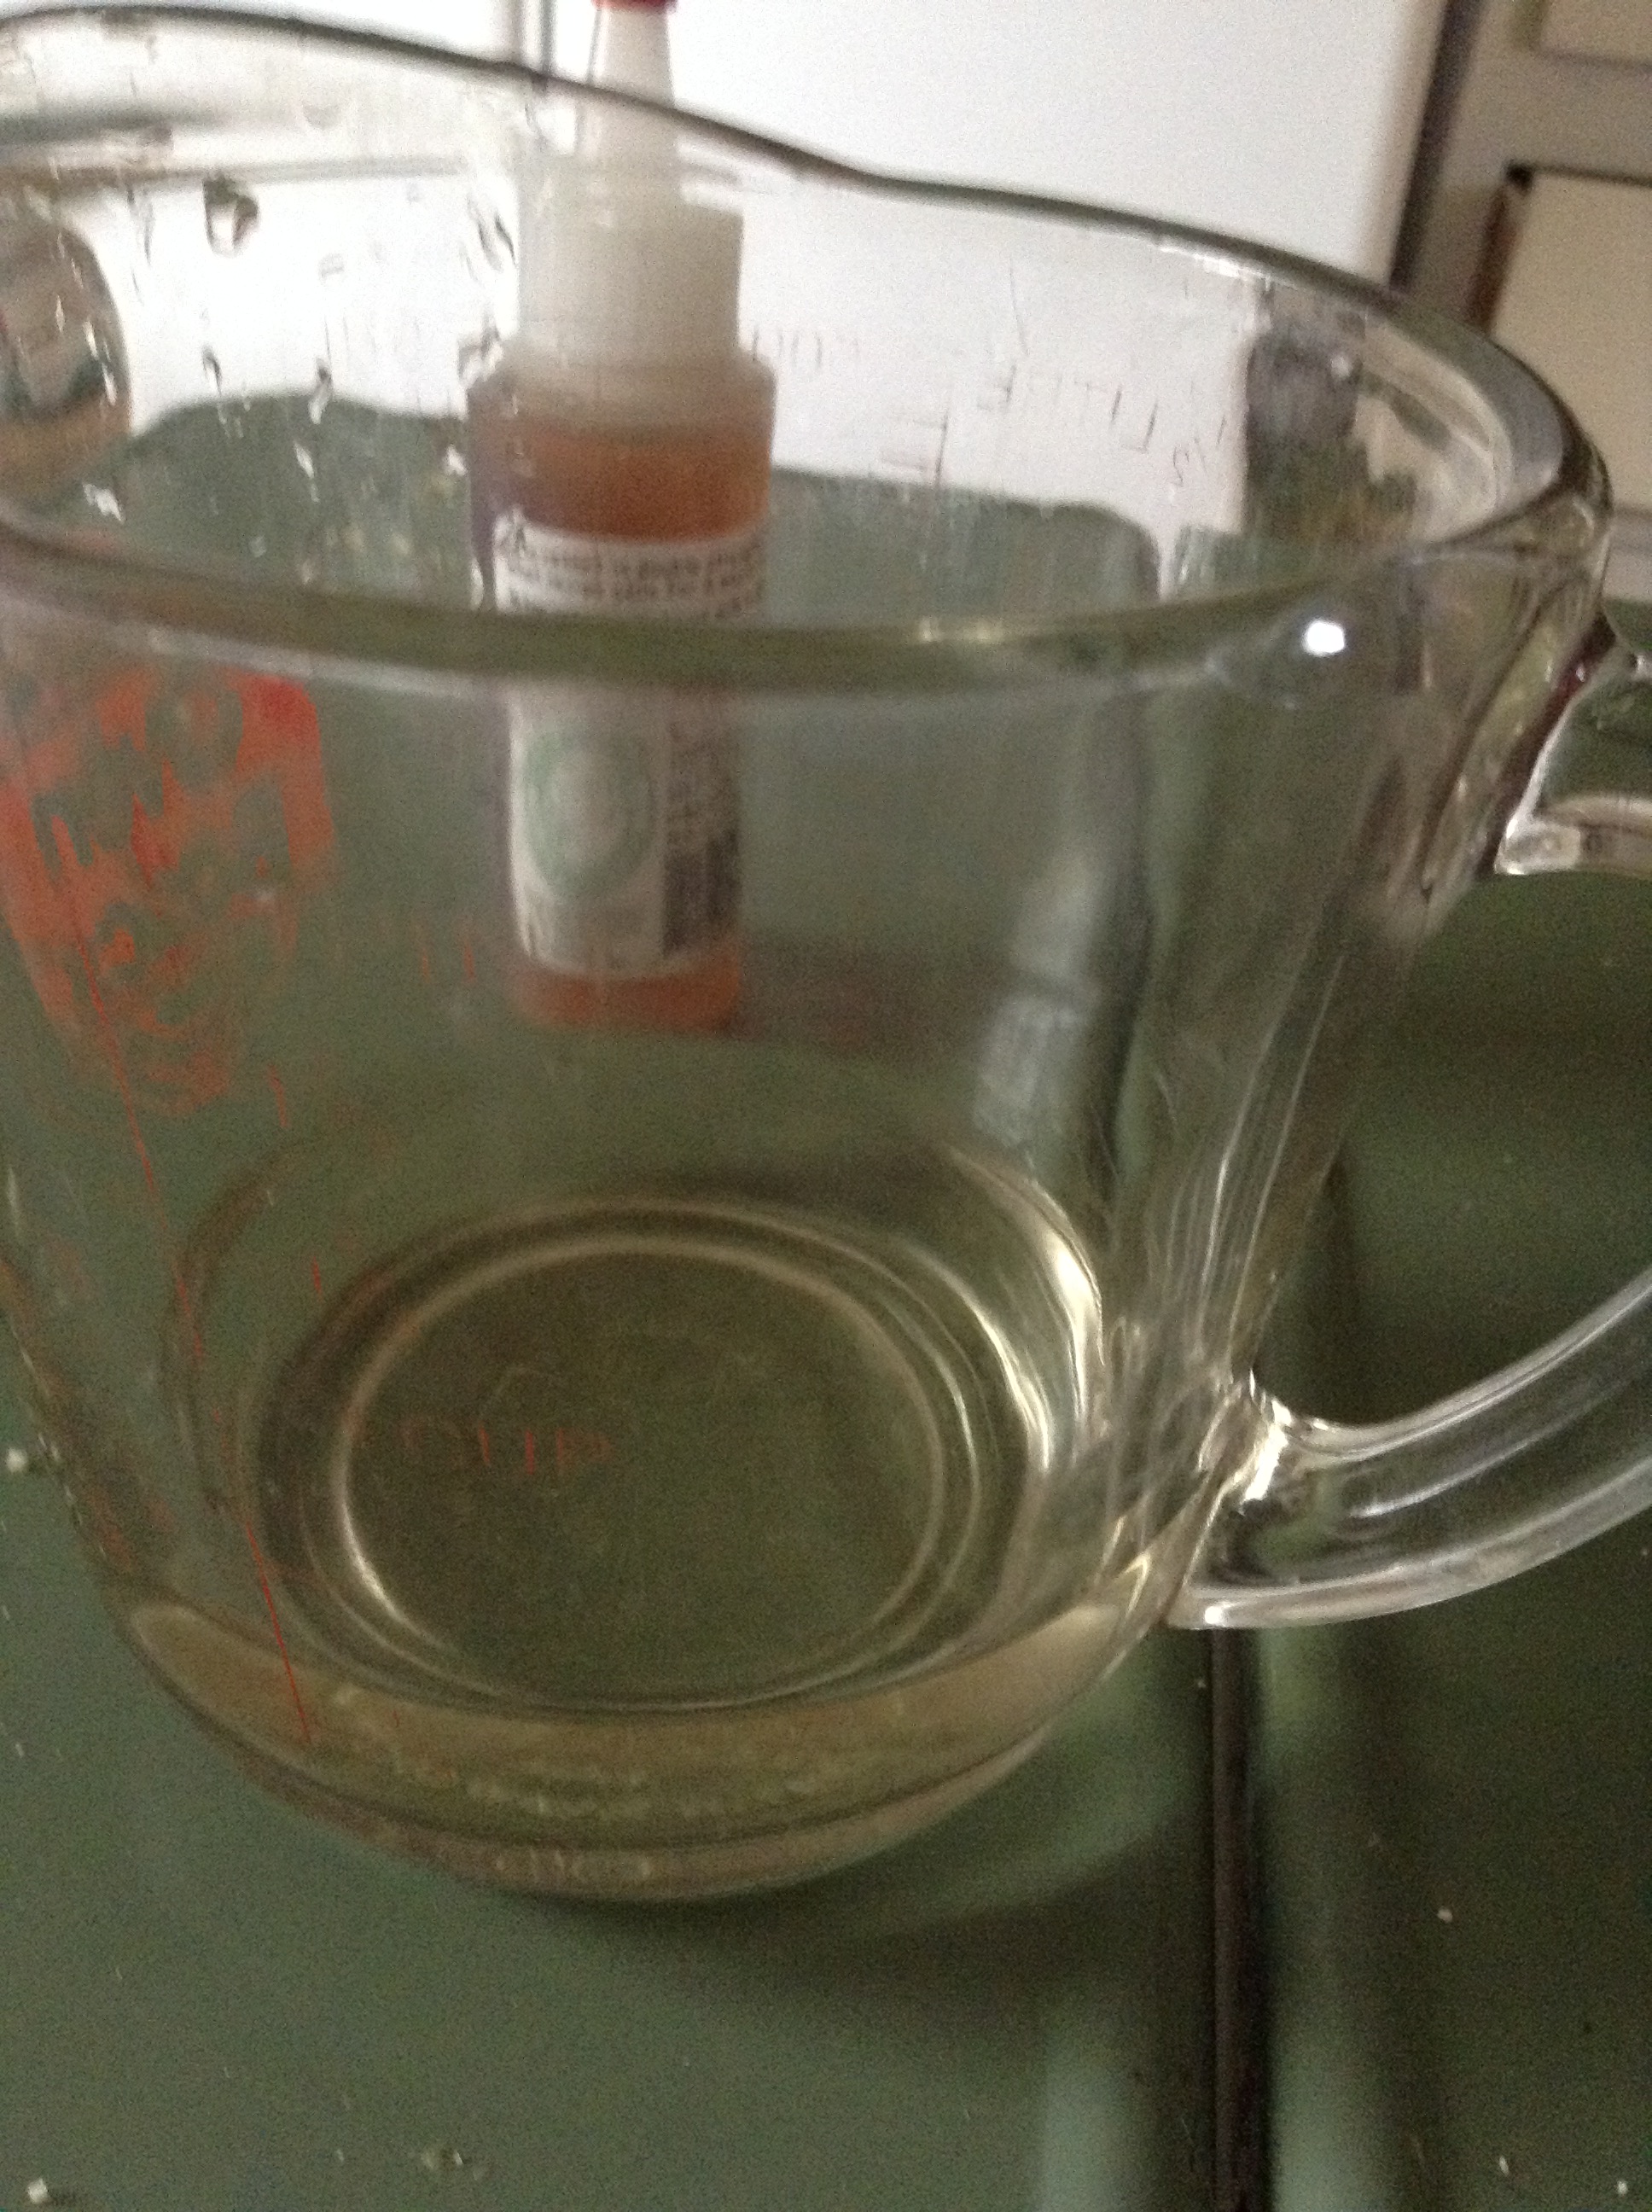
First put 1/2 teaspoon of rennet in a 1/2 cup of un-chlorinated water and set aside.

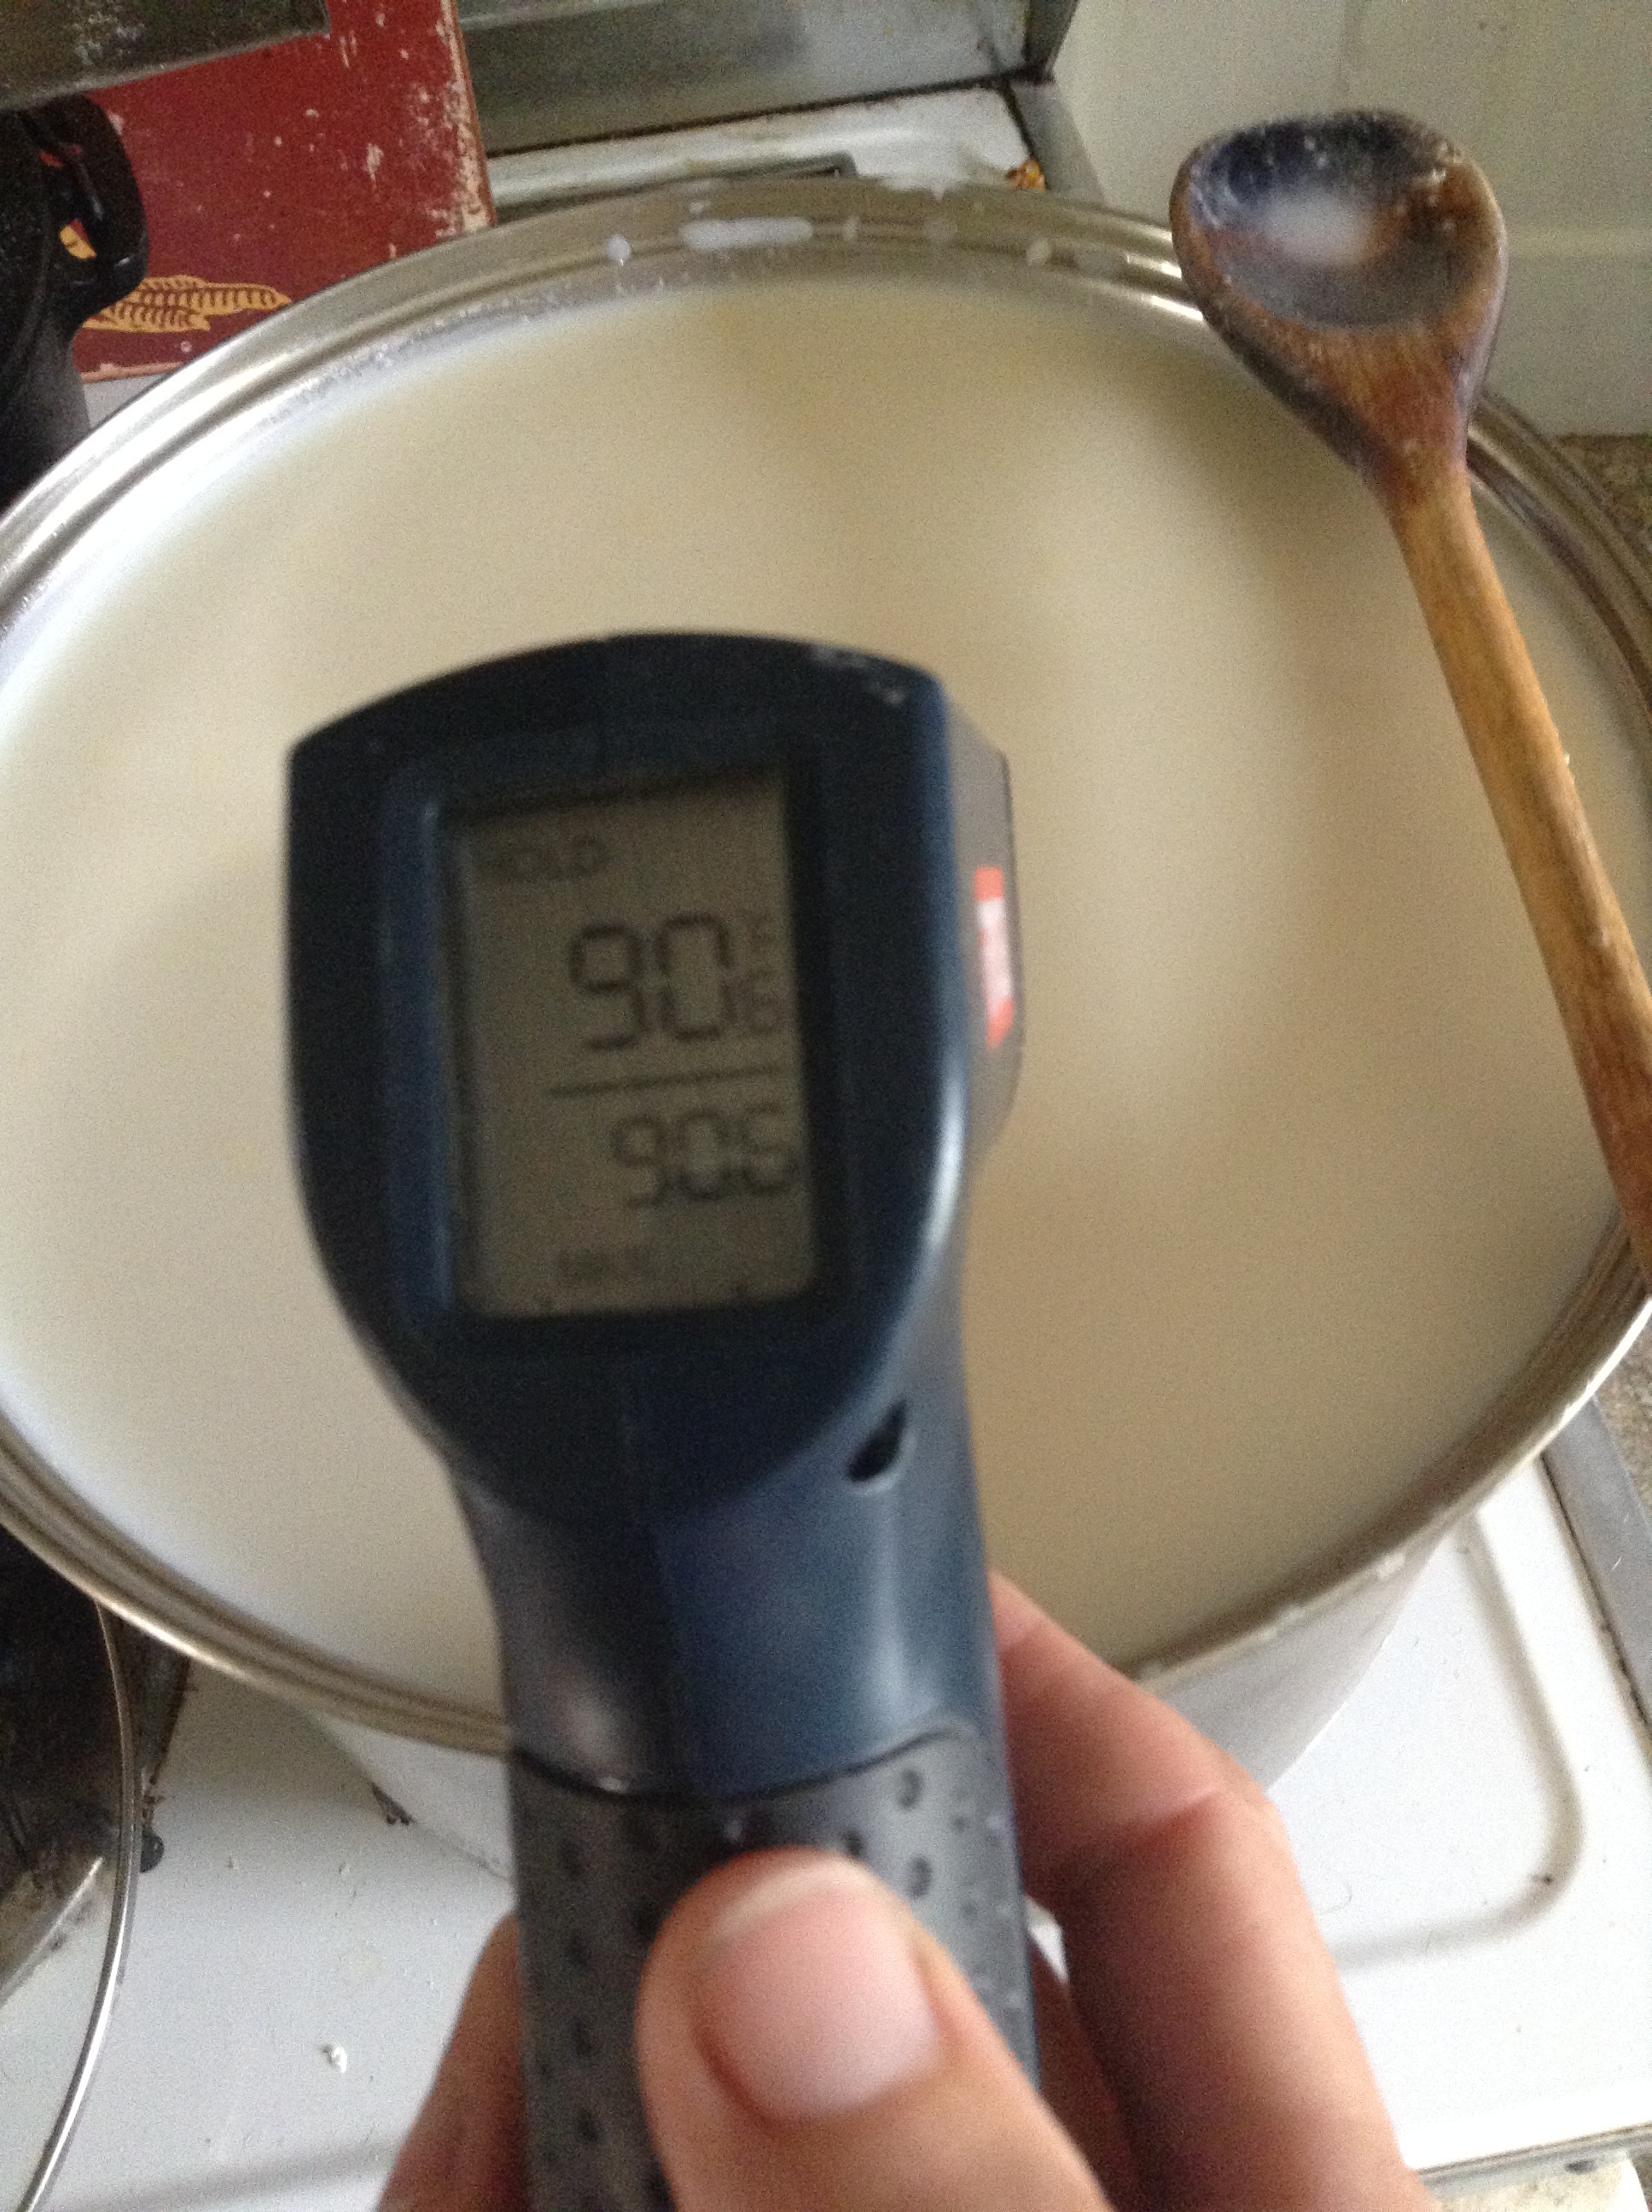
Pour 16 cups of milk (2 gallons of cow’s, goat’s, raw, or store-bought) into a large pot and bring temperature to 90 degrees over medium heat, stirring often.
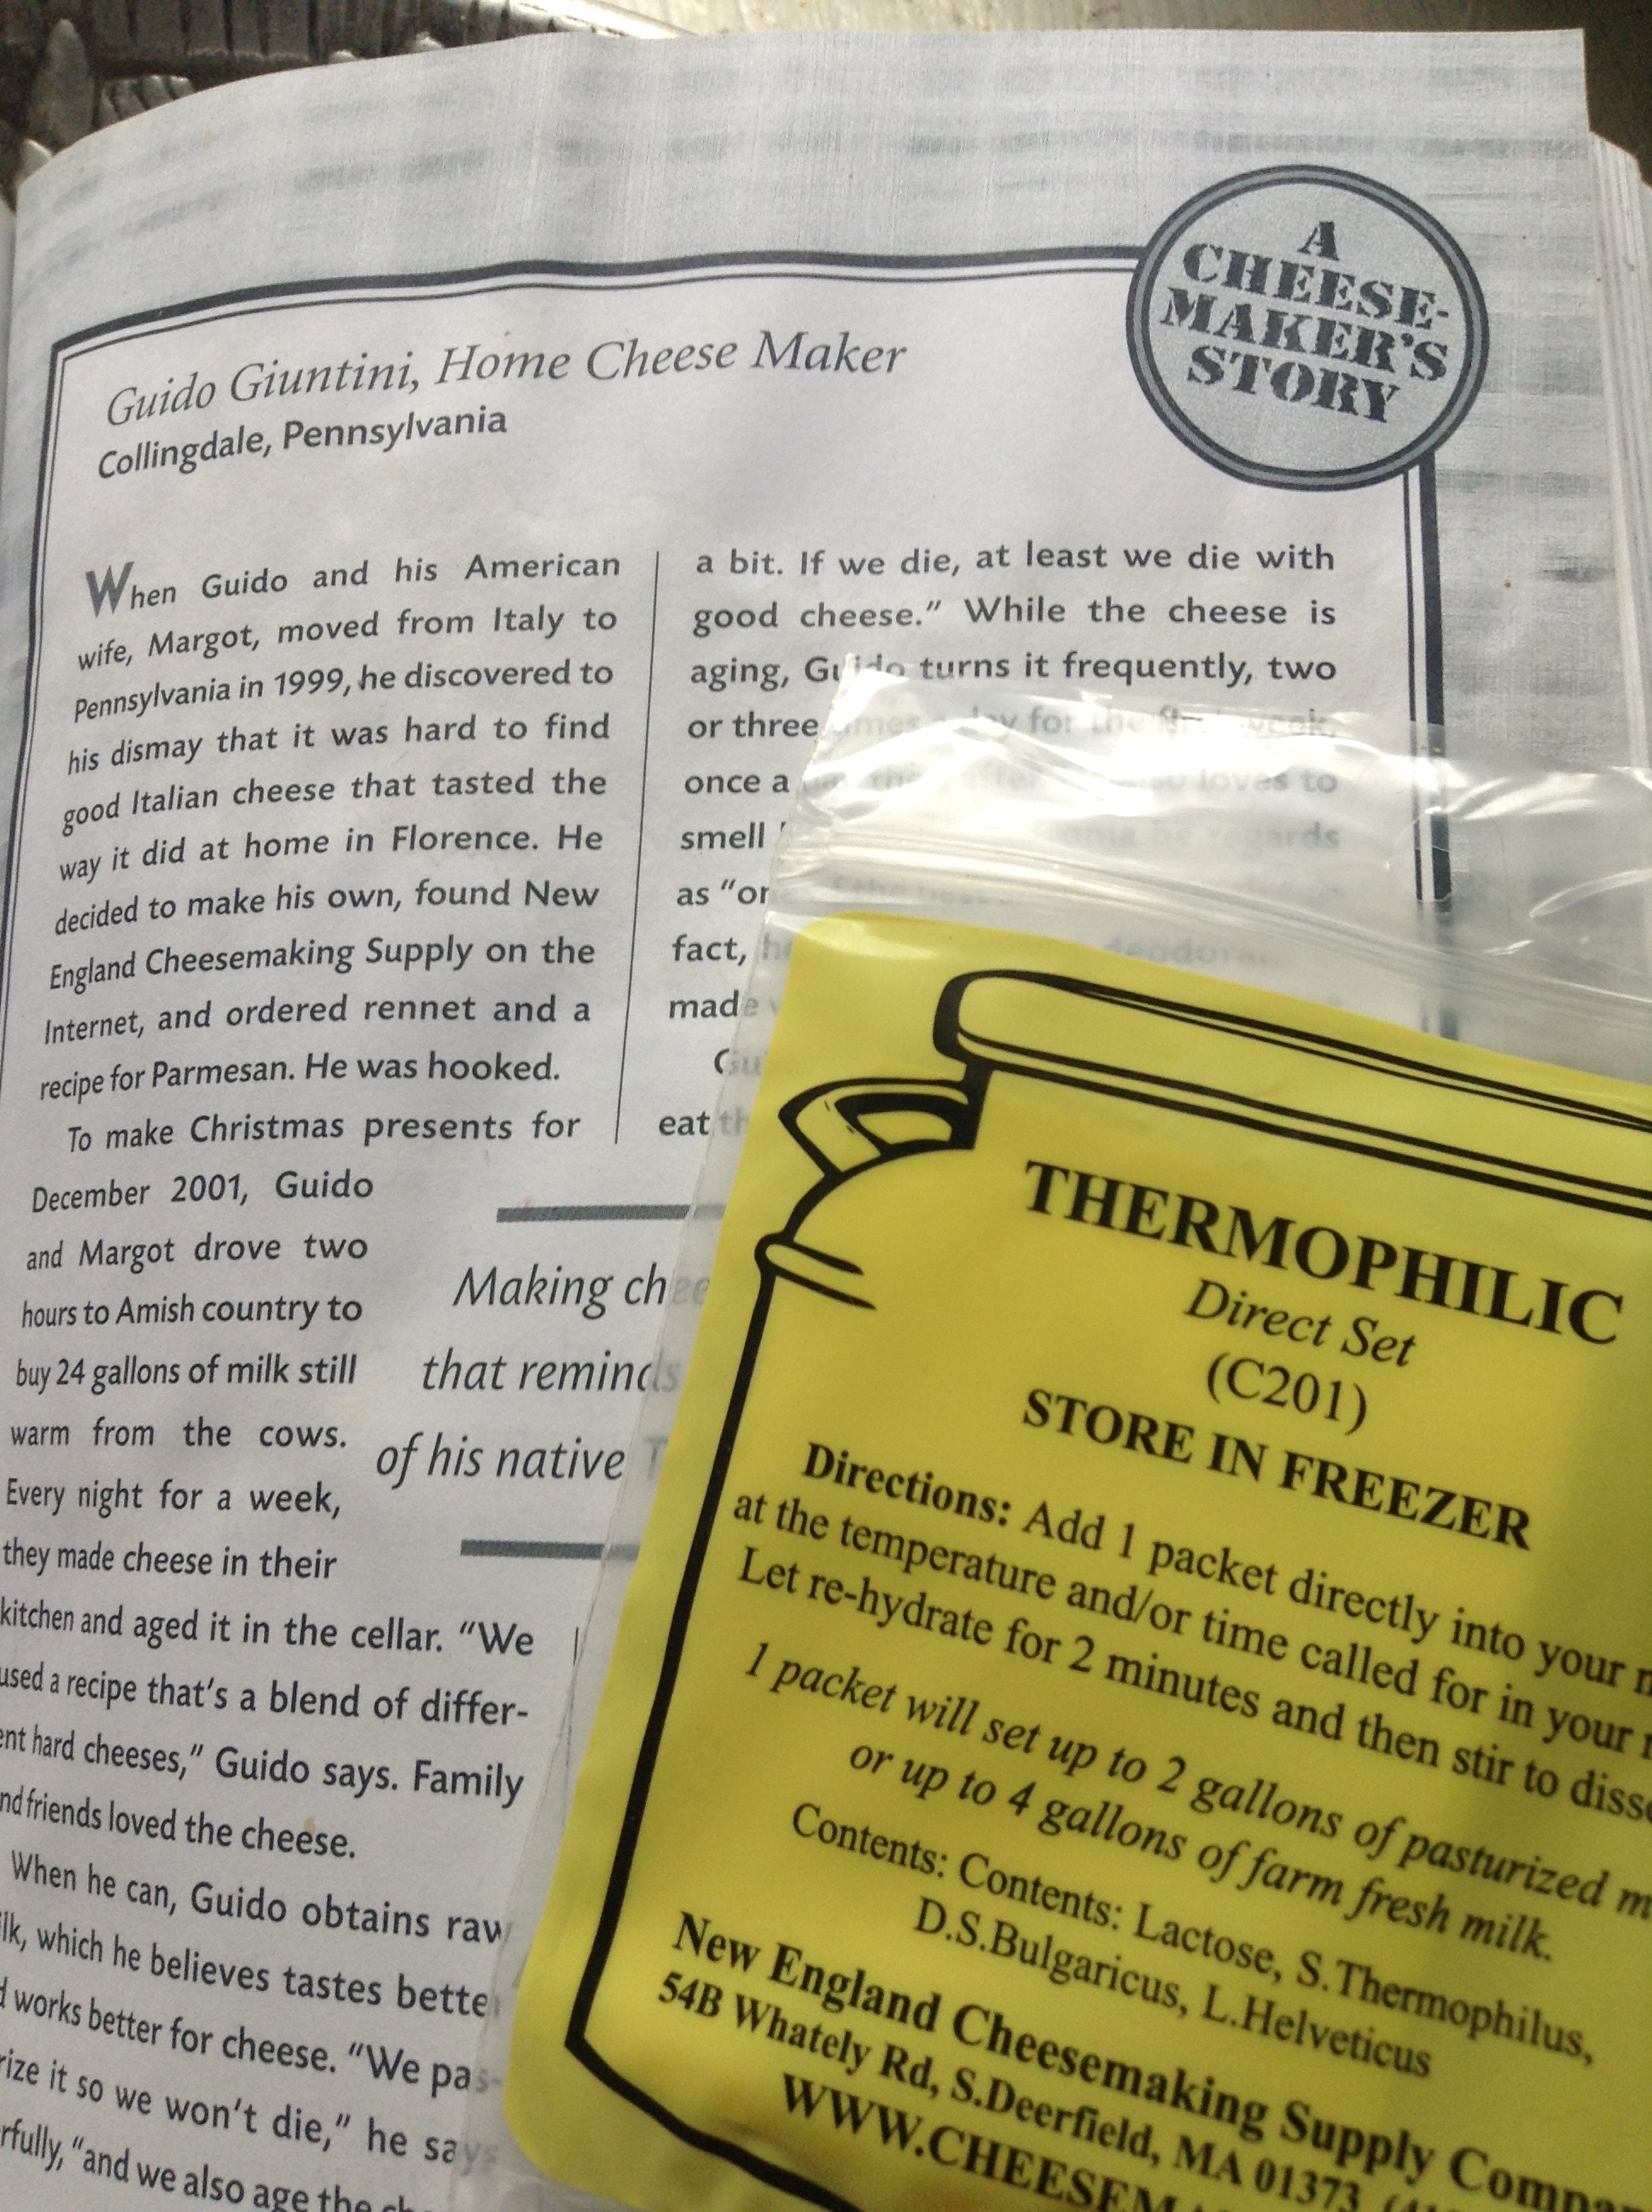
Add one package of Thermophilic starter (I get mine from Buckley’s Homestead Supply in Colorado Springs or Dry Dock Brewing in Aurora or you can order online.) and stir well. Put lid on and let sit for 25-30 minutes.
Stir in diluted rennet and let sit for another 15 minutes. After 15 minutes cut the curds in a checkerboard pattern with a long knife. It is not an exact science, just slice through the yogurt-like mass every inch or so in one direction, then in the other direction, then kind of sideways.
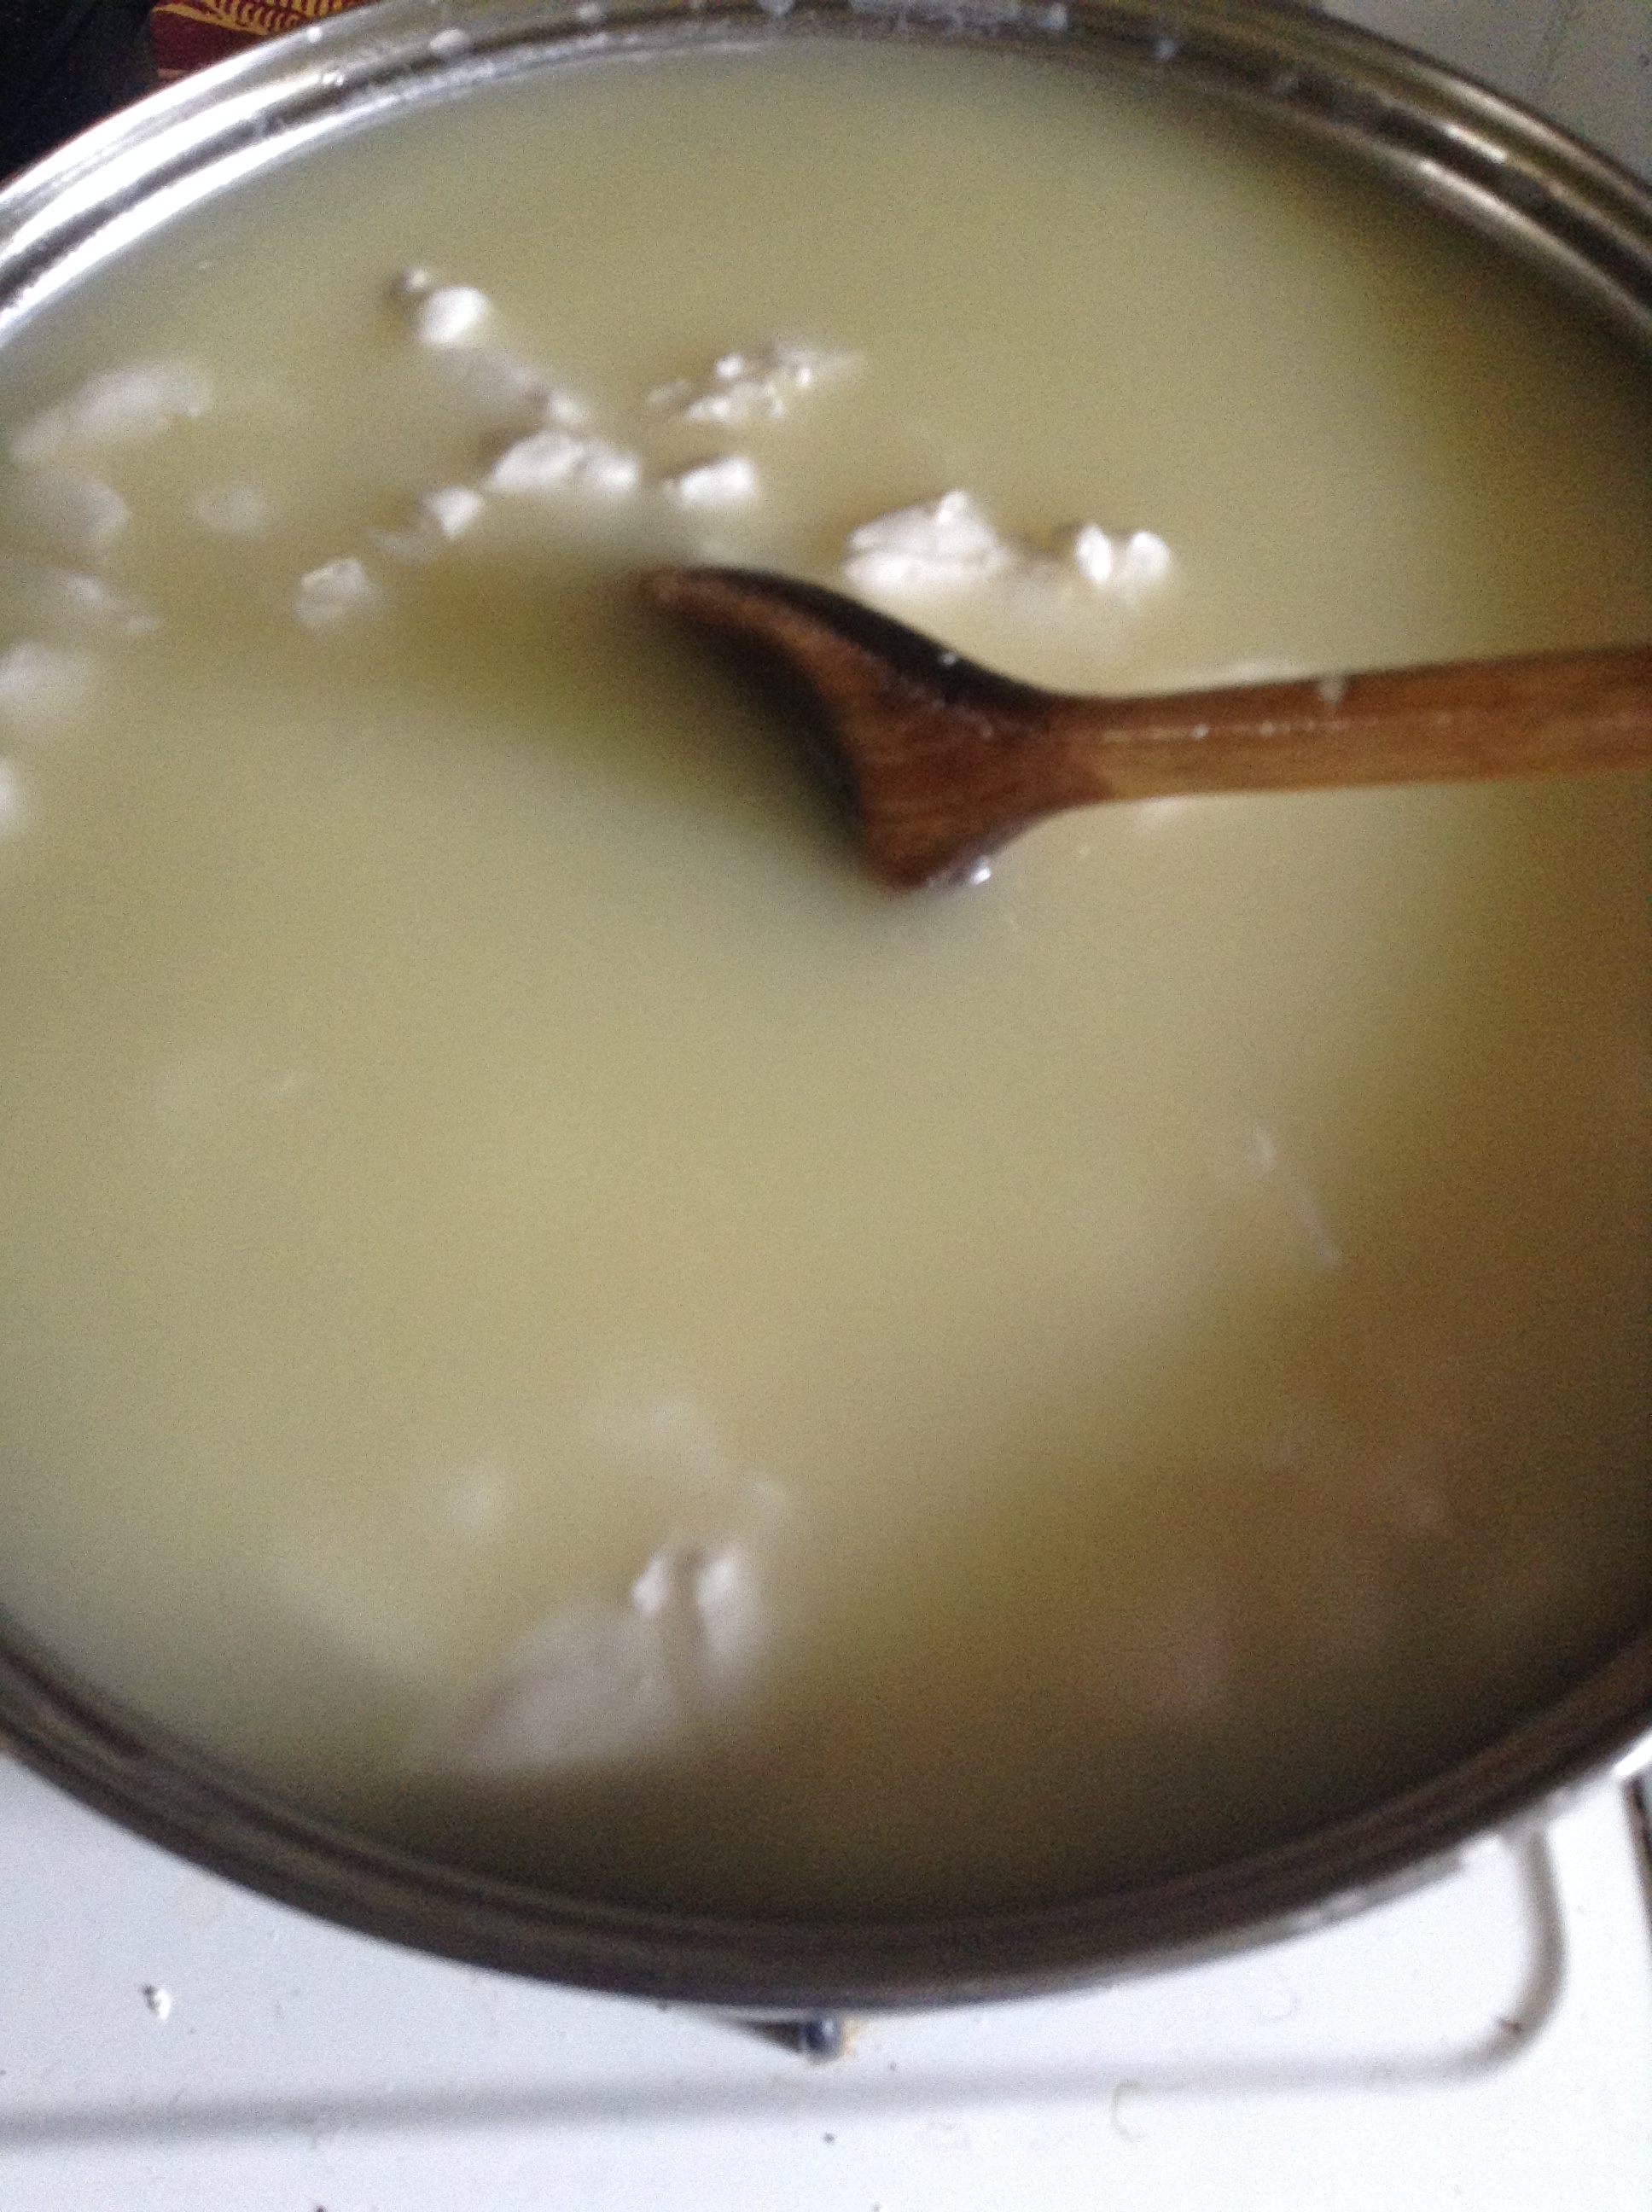
Now here comes the part about patience and the reason I didn’t think I would enjoy cheese making, but I do love it and I do love cheese, so this here is a labor of love (for cheese). Stirring near constantly we have to finagle the stove so that we can raise the temperature one degree every minute for thirty minutes. Most other cheeses we have to do this in a sink of water and add copious amounts of hot water to achieve this effect, but this one allows us to use the stove and cheat a little.

Now I am at 120 degrees.

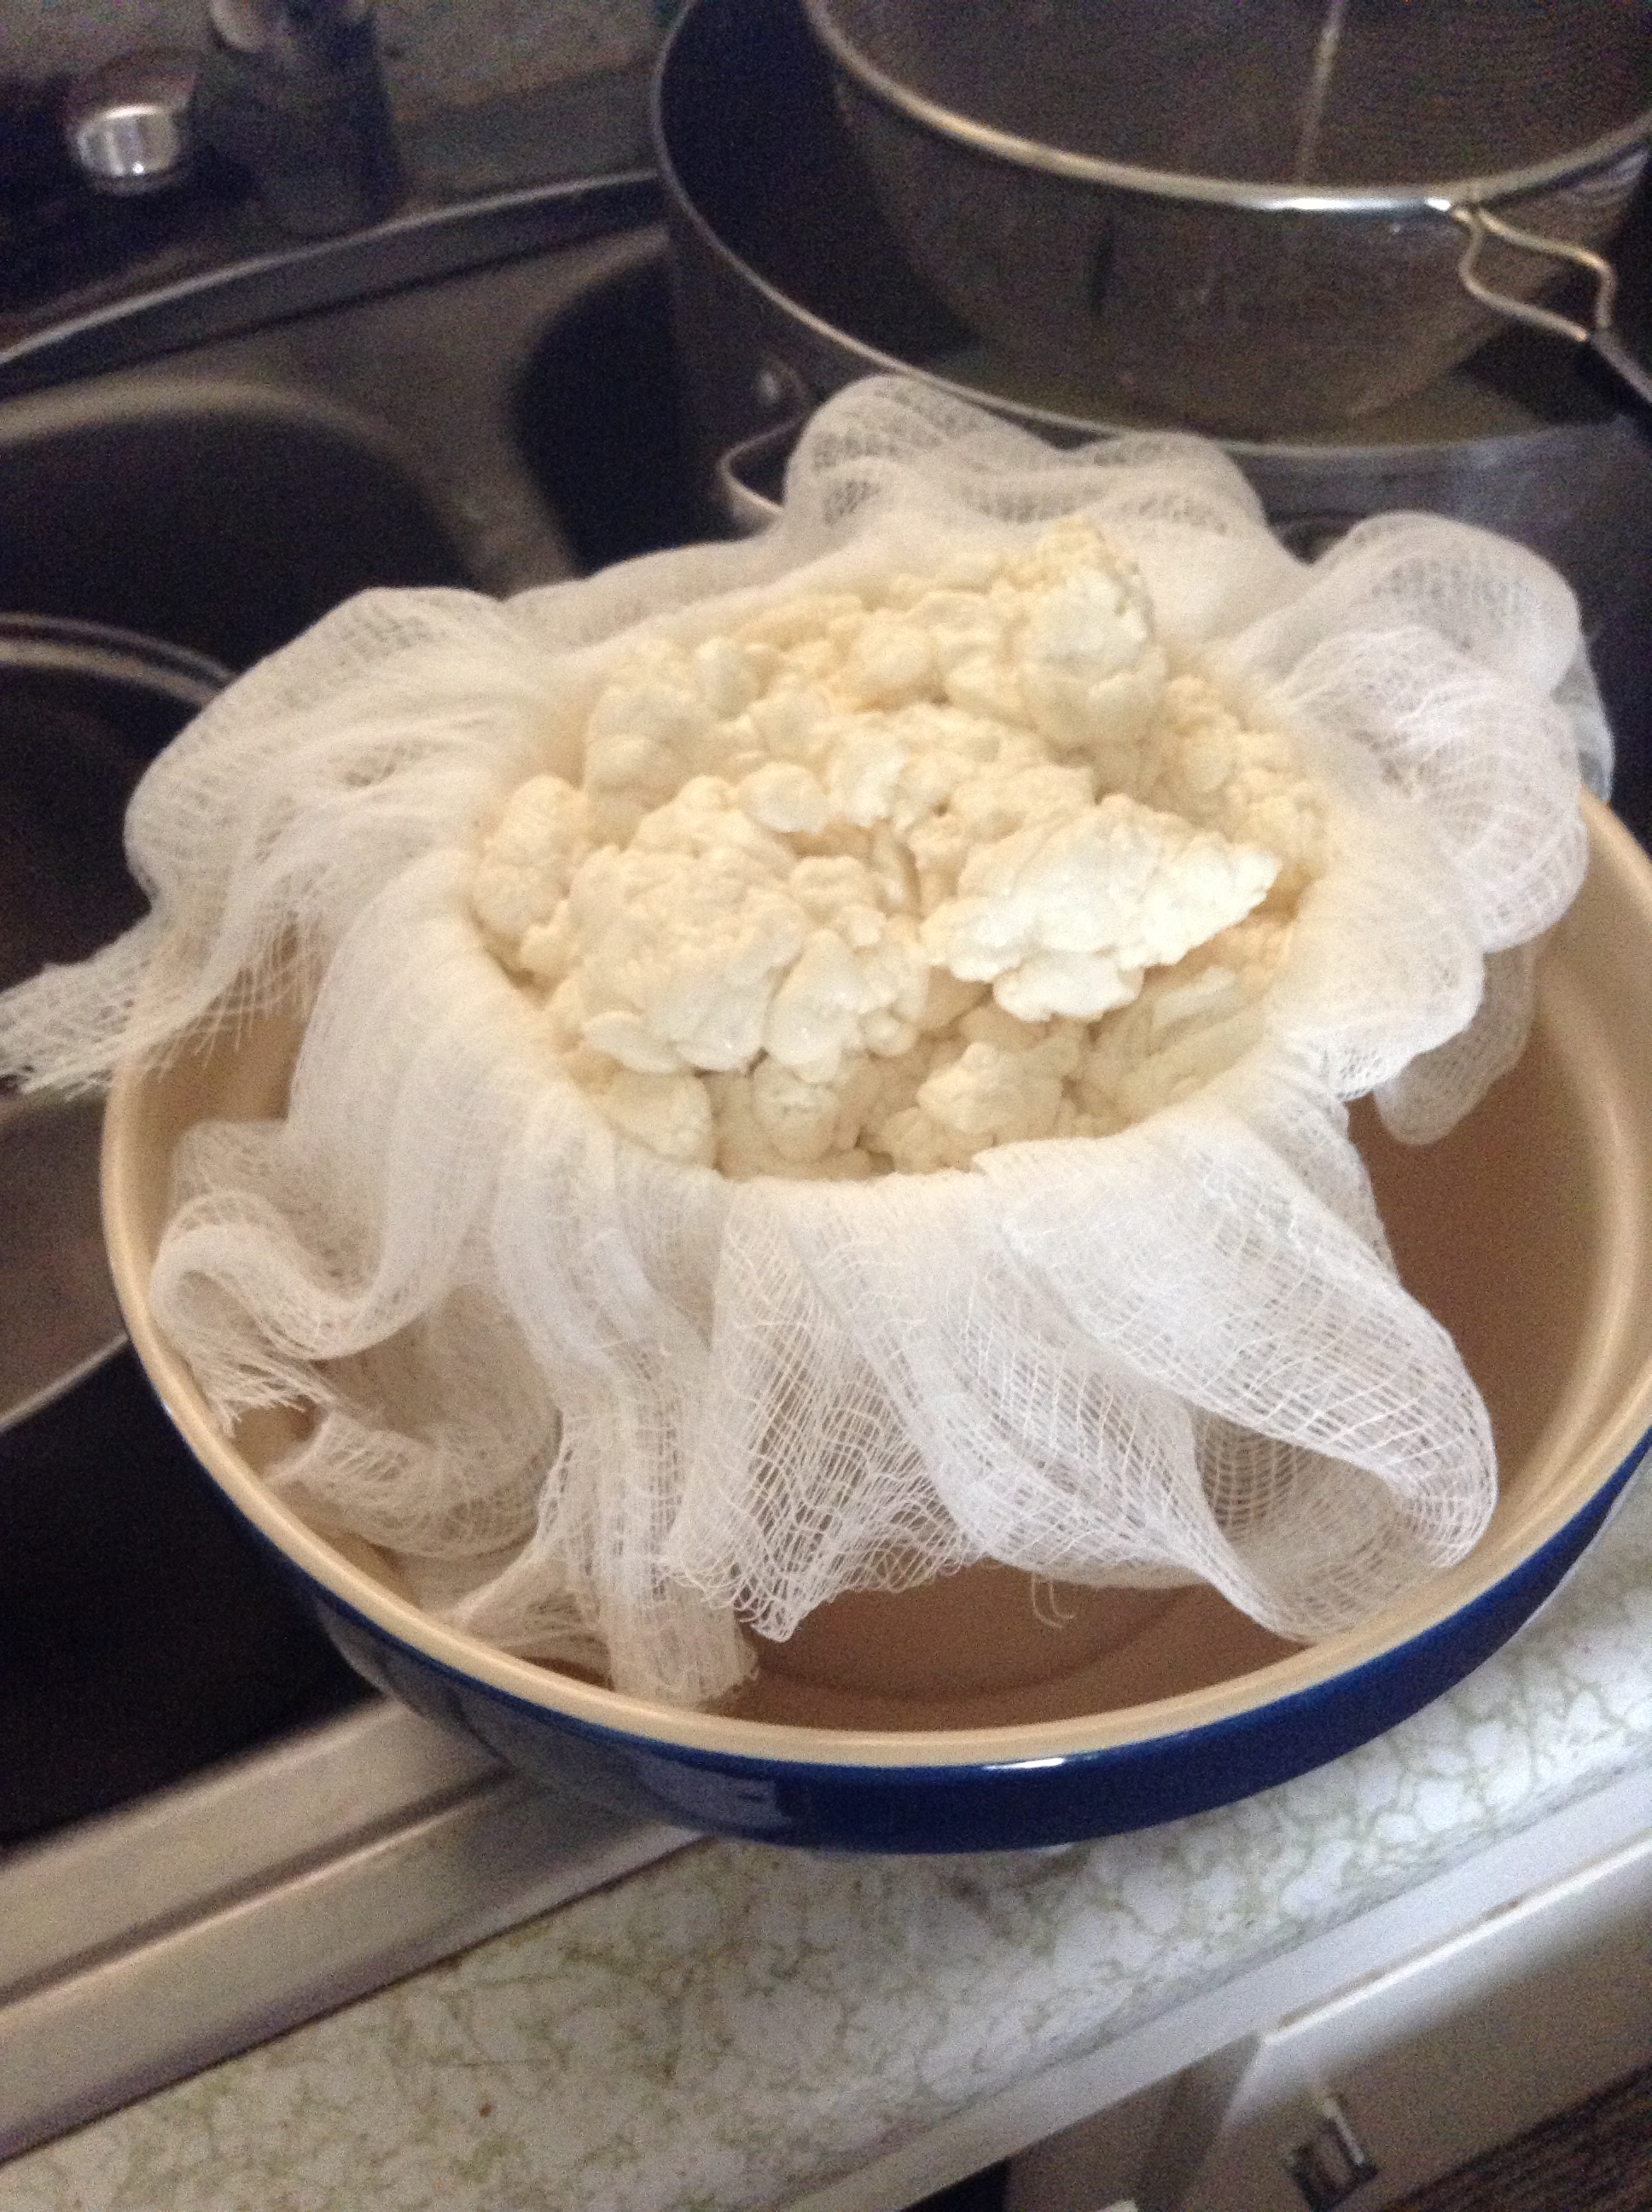
I prepared a mold with cheesecloth and secured it with clothes pins.

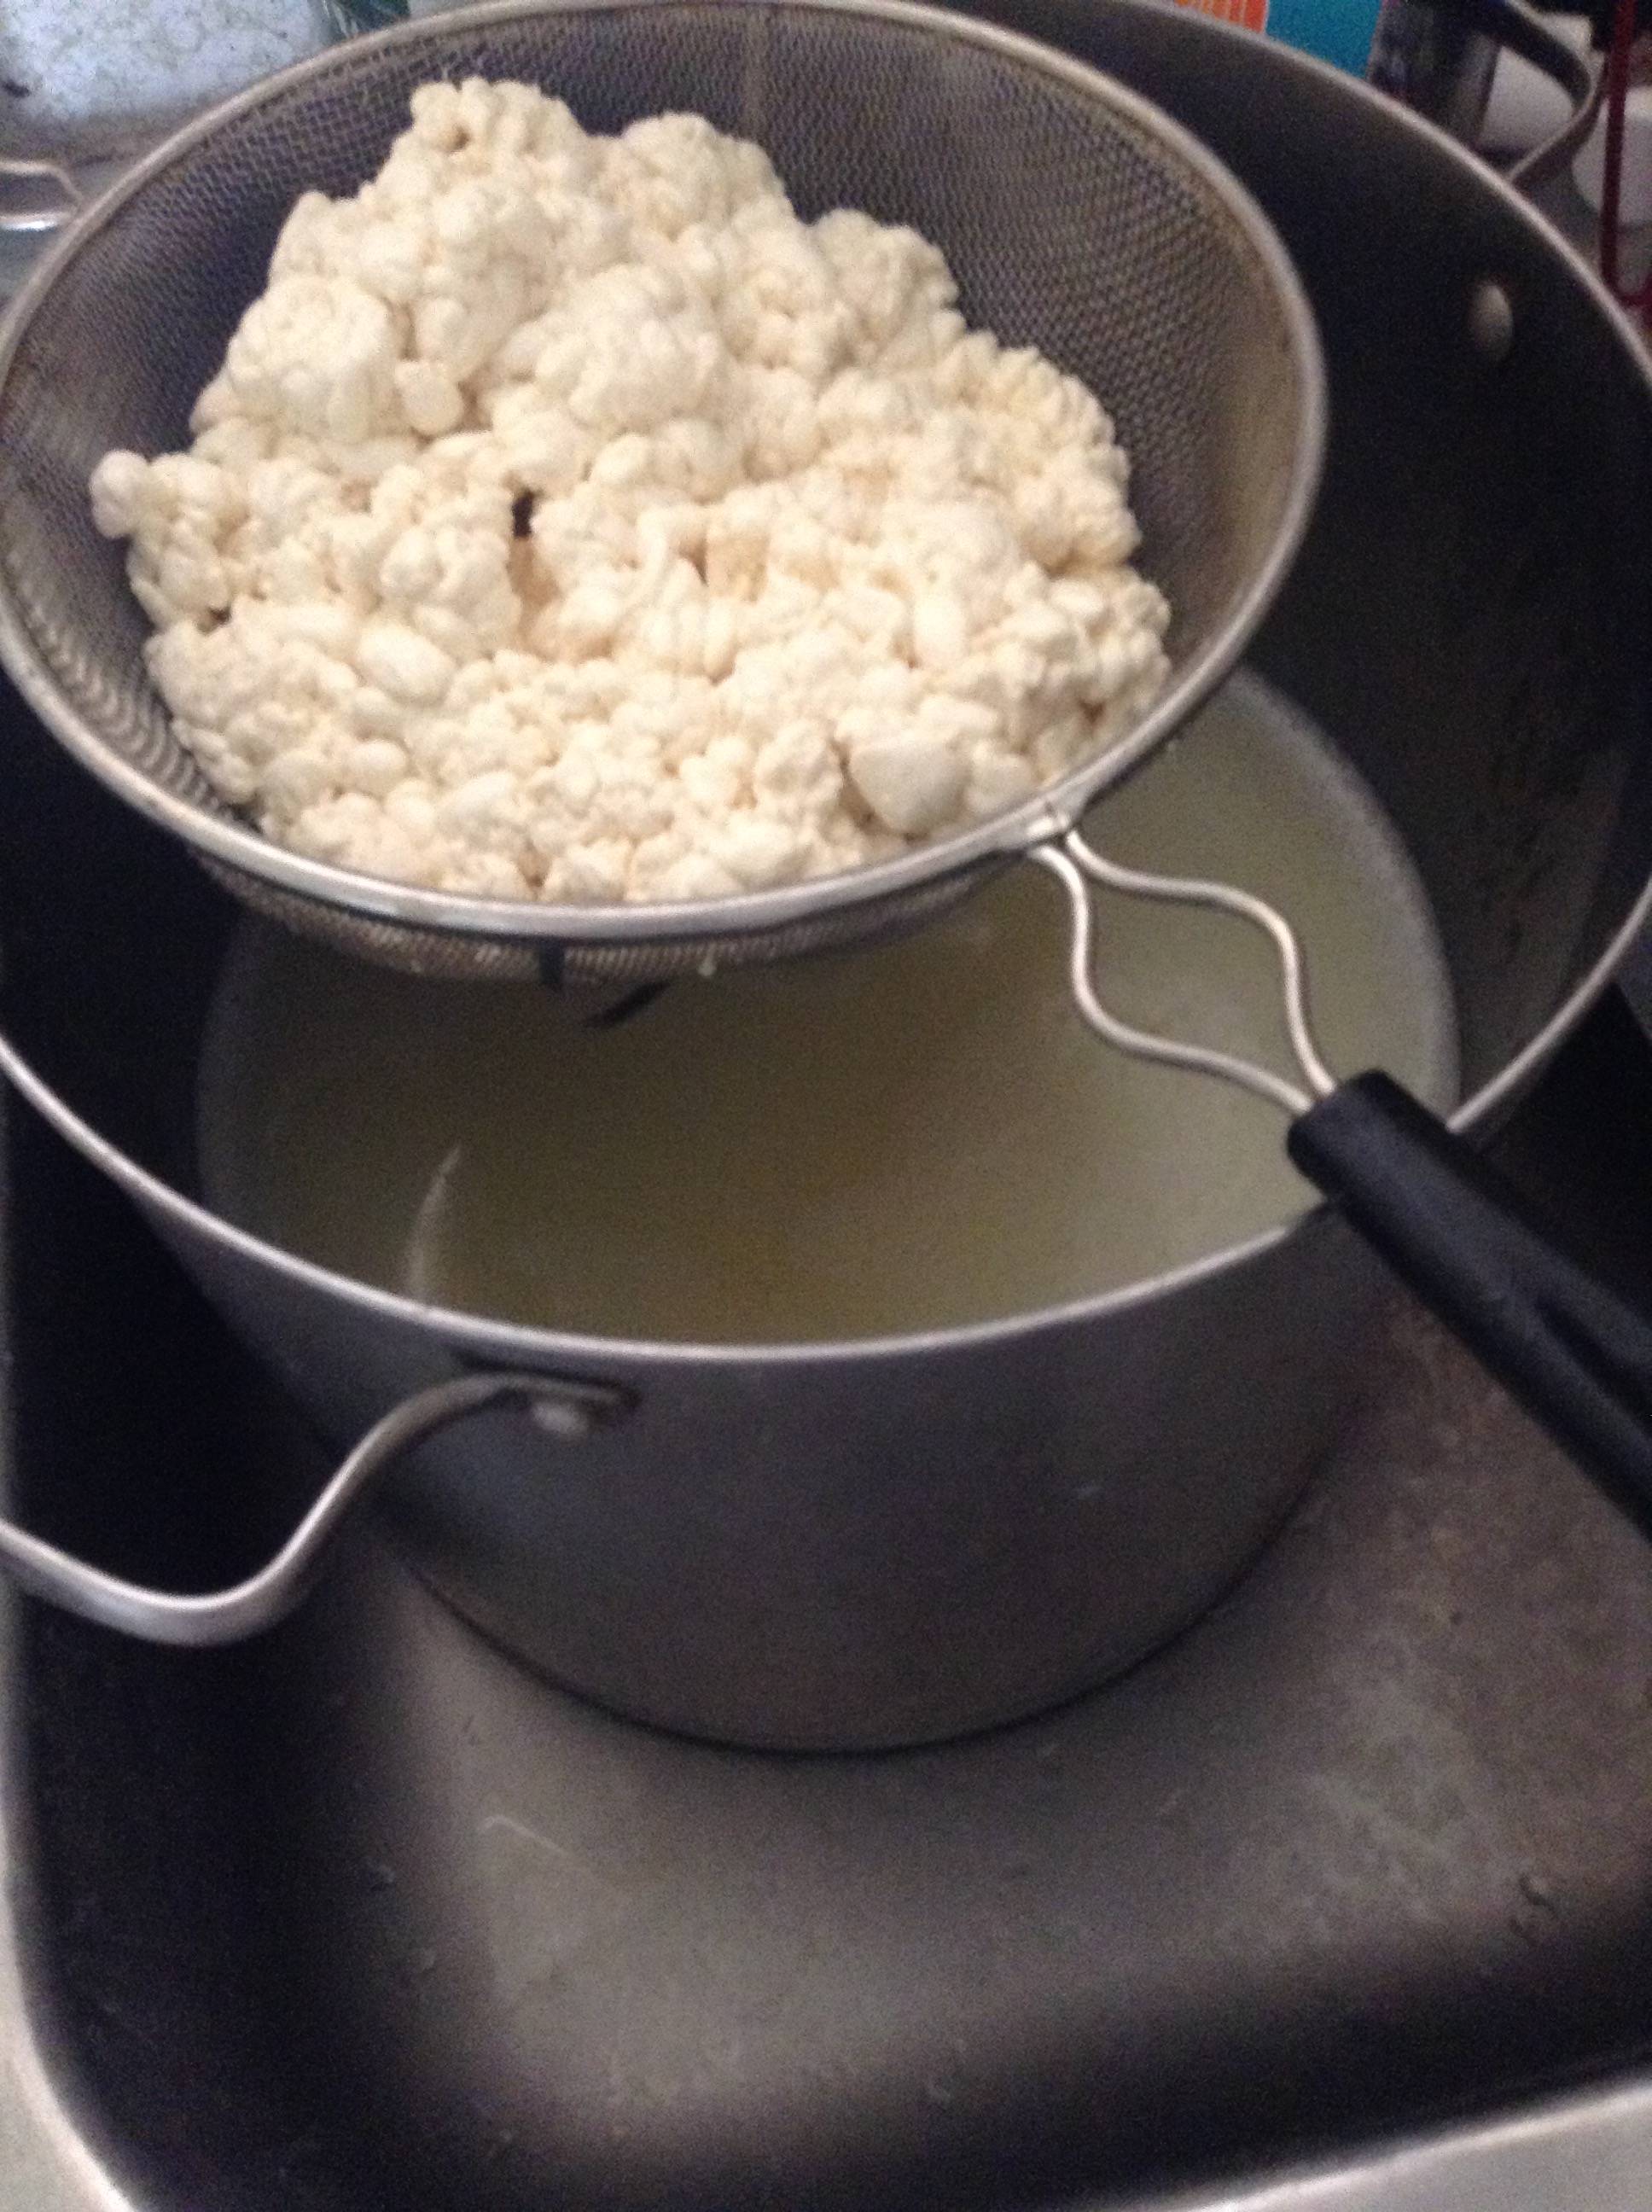
I place a strainer over another pot (to catch the whey) and pour the cheese into the strainer.
Pack the cheese into the mold.
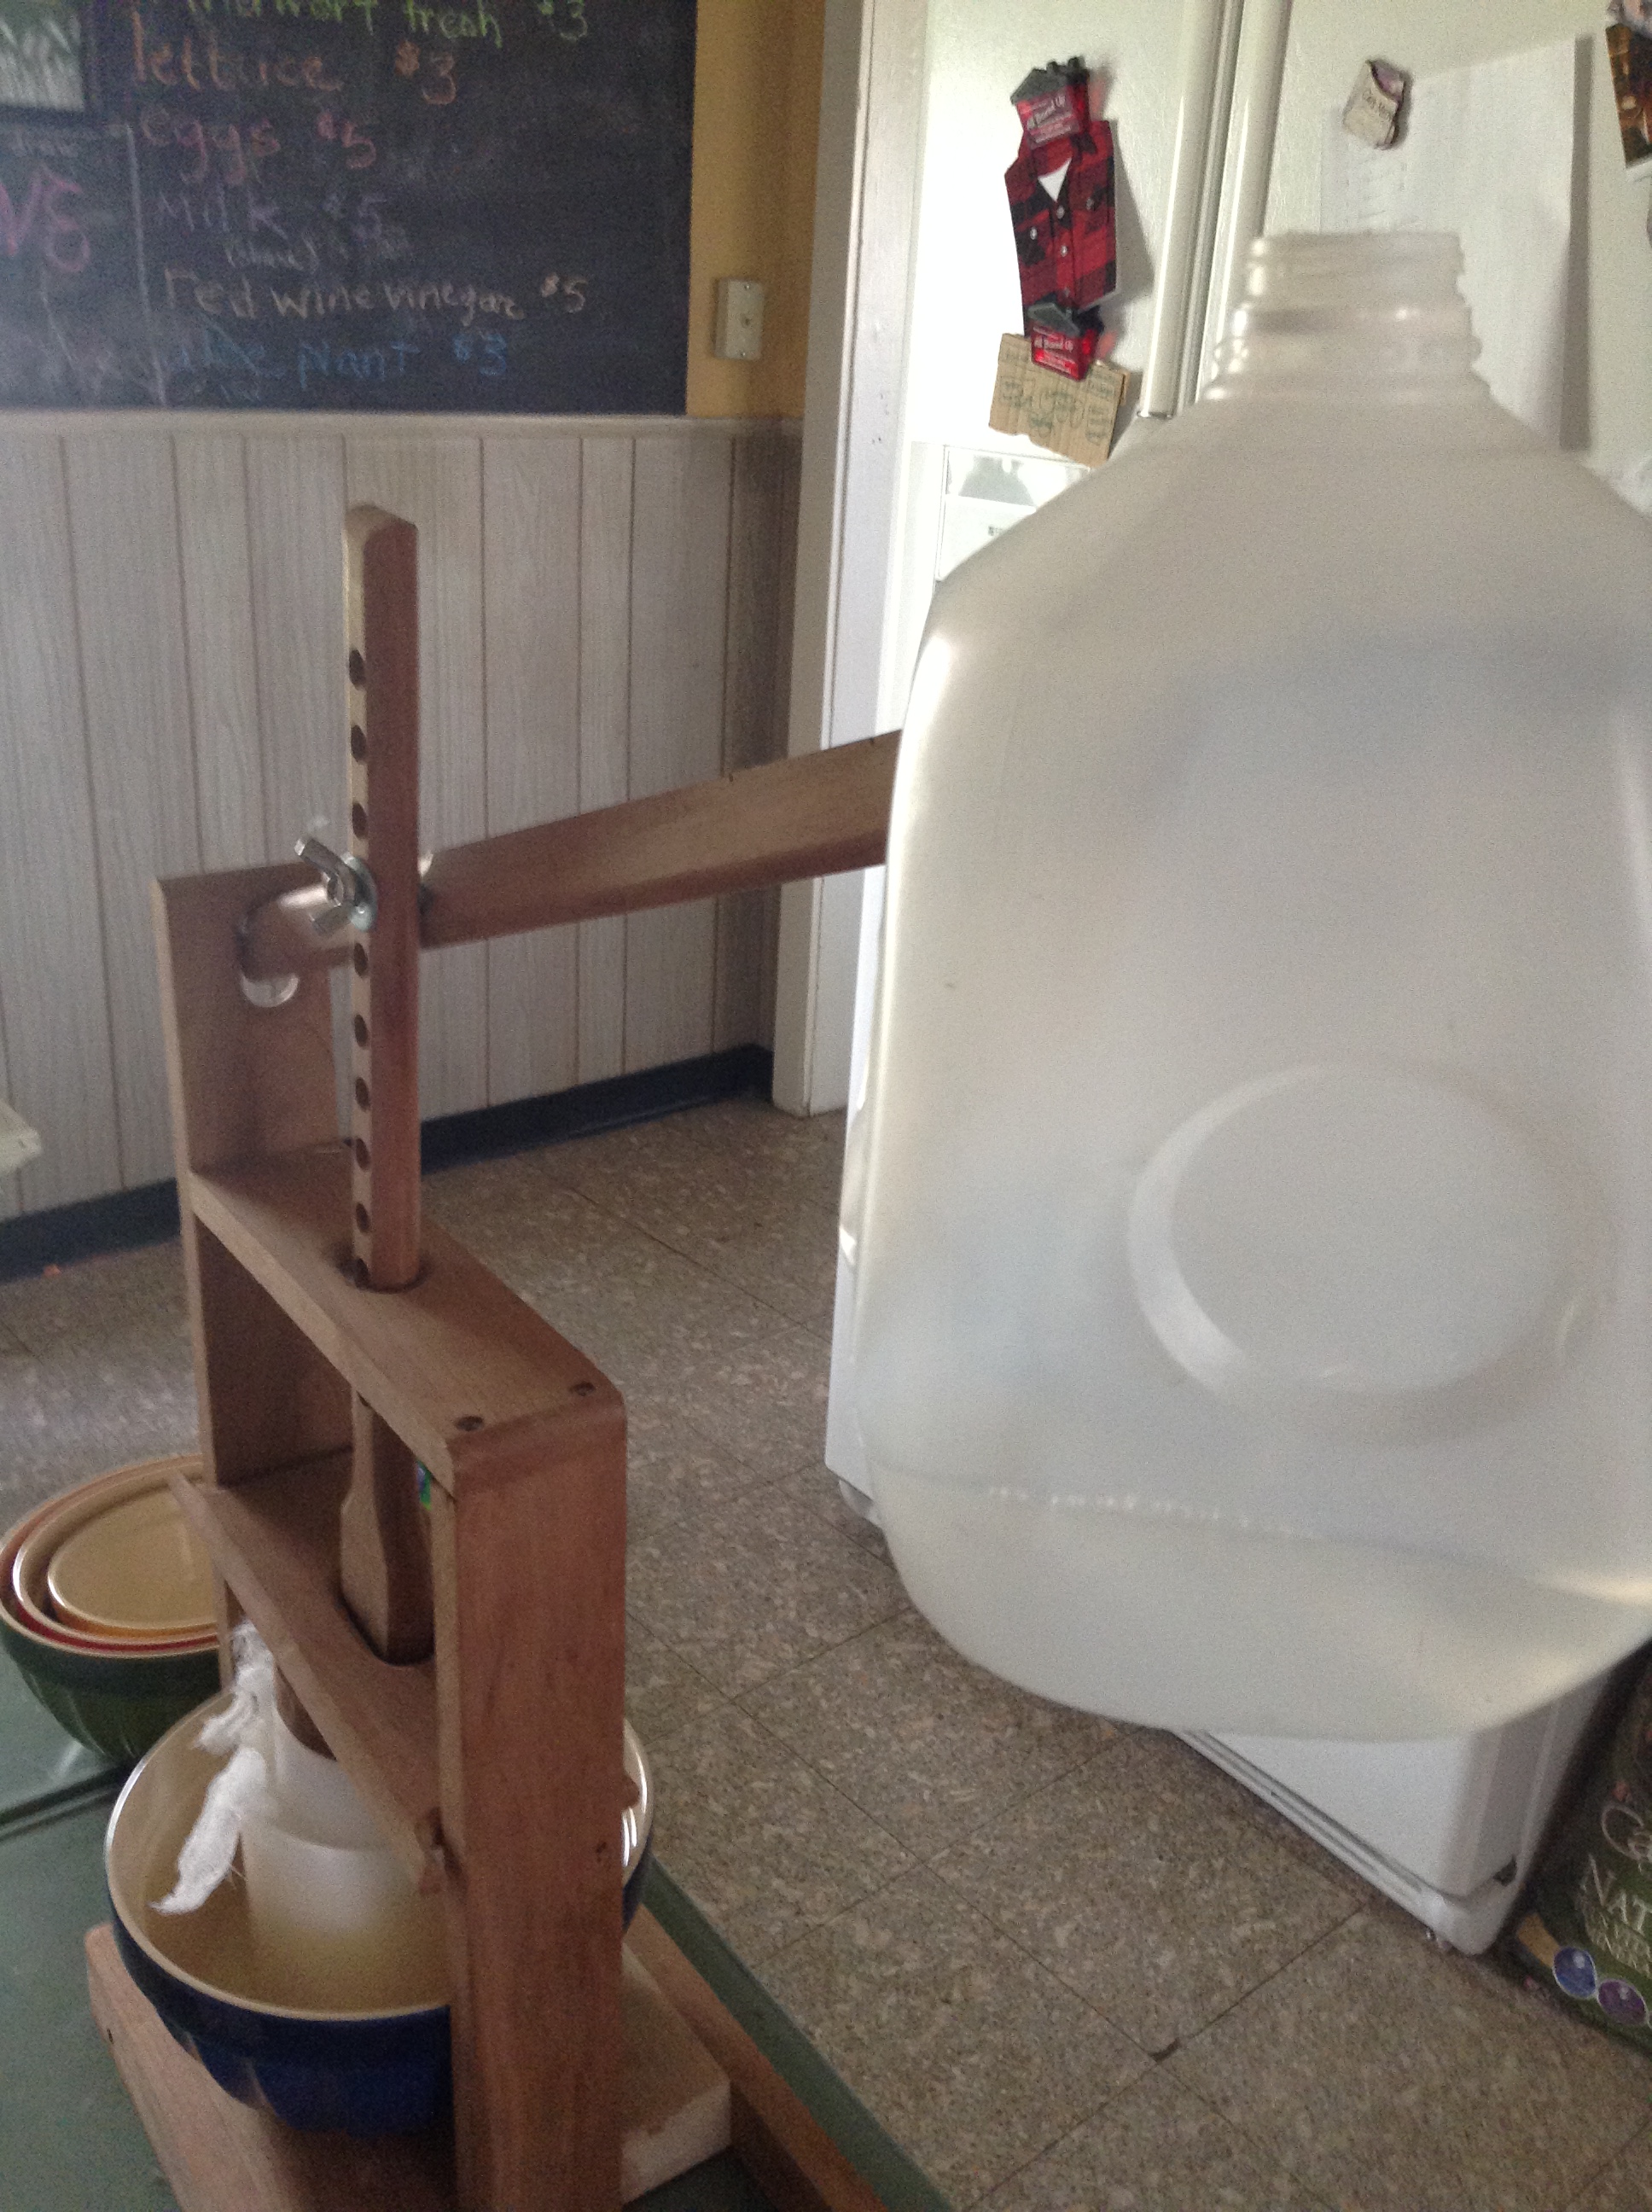
Fold over the top of the cheesecloth and place a 3-4 pound weight on top. If you are using a cheese press this can just be three inches of water in an empty milk carton hanging from the end of the handle. You may as well get a cheese press, this activity is rather addicting! You could use a cantaloupe or something, I suppose, as the weight. The mold just needs to be a cylinder with holes in it.

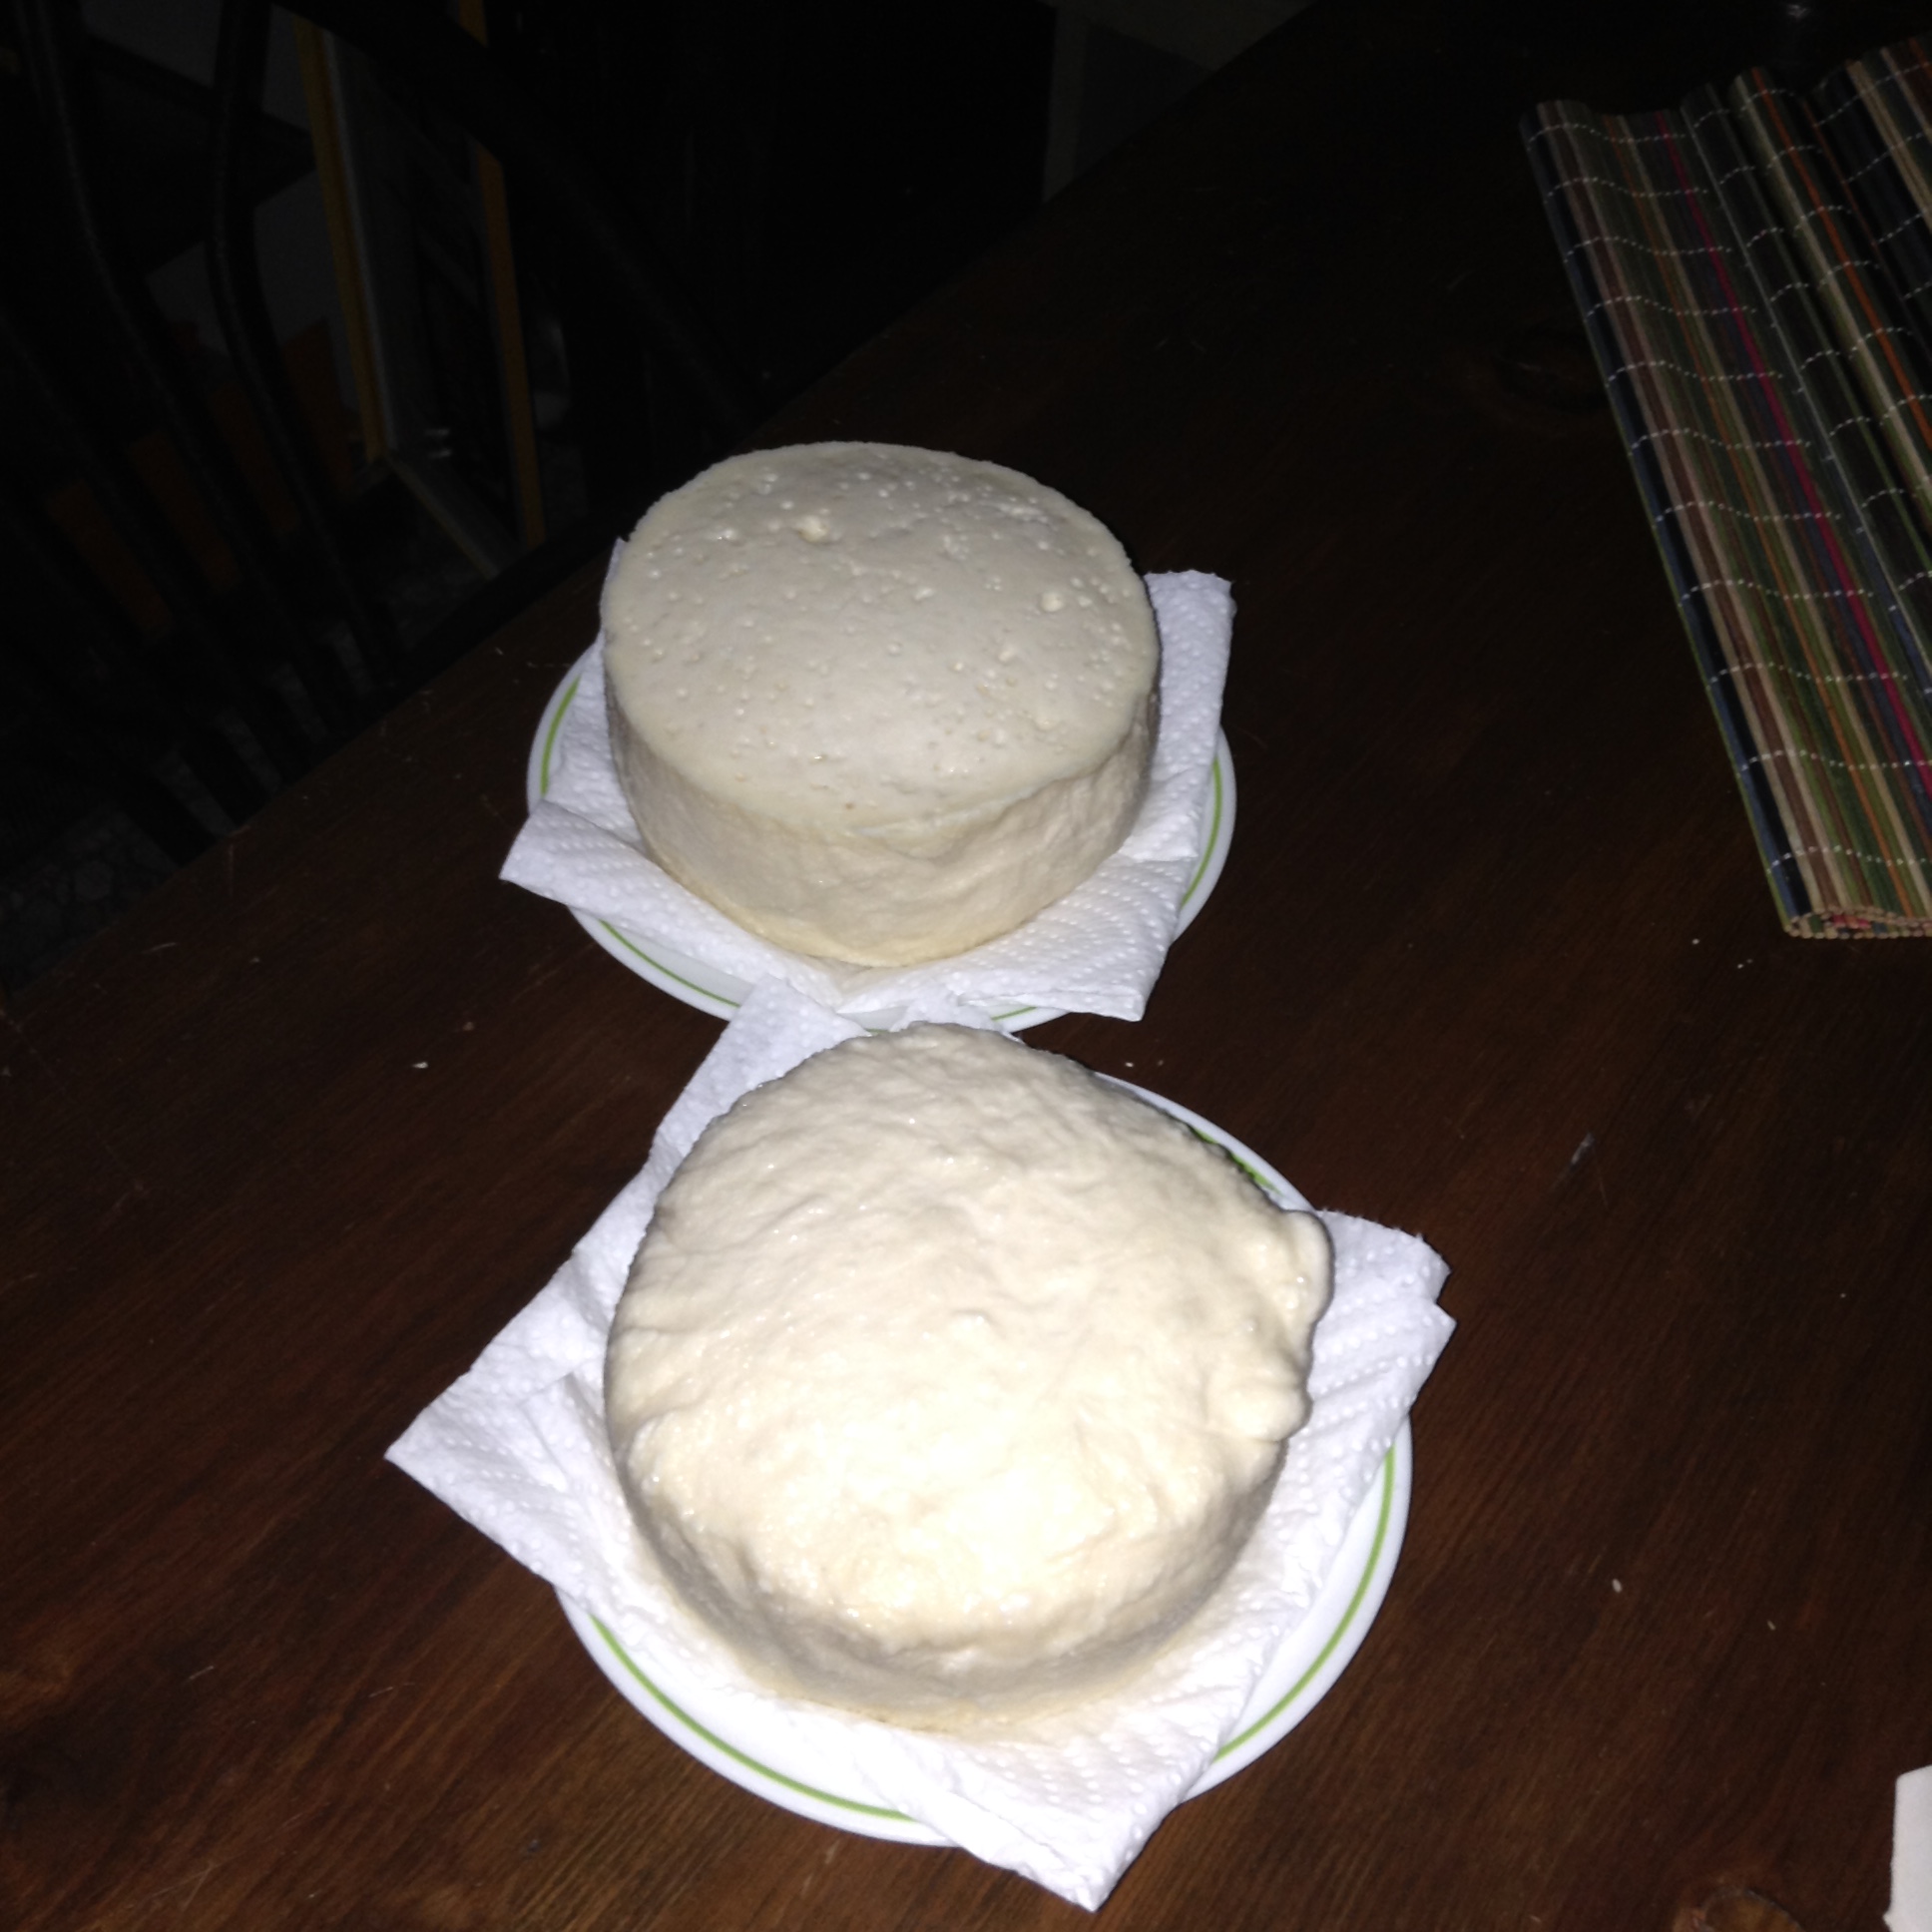
Now, we unwrap the cheese after fifteen minutes or so, turn it over, rewrap, and reset the weight. The book tells us to do this several times at the beginning then a few more times over 4-6 hours. The first time I made this I had just gotten the thing wrapped when I heard I needed to be at my son’s wedding three hours earlier than I thought. So, left it and came back, turned it a few times, it was fine. This time I had to go to Elizabeth to drop the baby off to her daddy so the cheese got turned three times over 4 hours. It wasn’t as compact and sharp looking as store cheese, but it would do. It was pretty tall so I actually cut it in half. We’ll find out in a few weeks if that was alright to do. After the four to six hours let sit under the weight for 24 hours.
Make a brine using one pound of sea salt to one gallon of near boiling water. Let cool down. Maybe plan ahead and make it the night before. I ought to do this.

Place cheese in brine and turn every so often for 24 hours.
Place on paper towels and keep in cool, dry place (like the cheese fridge) for 3 weeks, turning a few times a day at first (if you remember!) and then once a day or so after. After two days you could soak the cheese in red wine for 24 hours then continue the drying process. After three weeks, it is ready. Just in time to celebrate summer!

This doesn’t look too scary! One question though, how do you manage the stove so the temperature only rises one degree every minute? I’m trying to figure out how to do this at home, because our stove is very difficult to control. Did you just move it on and off the burner? Is it disastrous for the temperature to not rise steadily like that? (Maybe I should just try the hot water in the sink..)
Just keep raising or lowering the heat and checking with a laser thermometer to maintain temperature. Not too hard, I promise! If you get up 2 or 3 degrees, just turn the heat down a little..
Okay thanks! will try this soon
[…] Soft cheese and Hard Cheese […]