
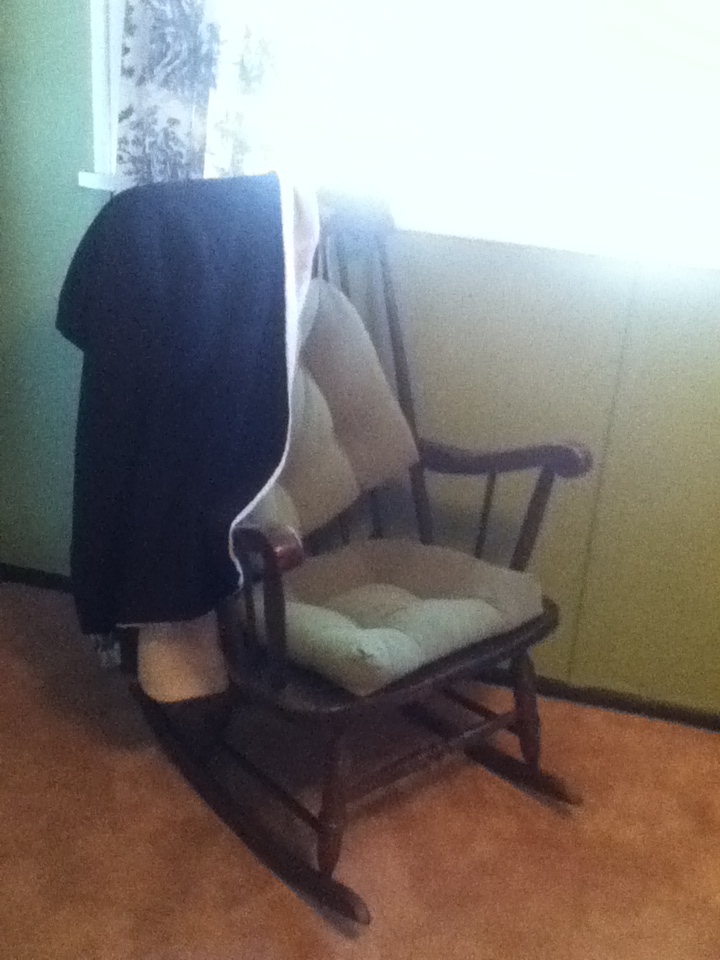
The last room in our homestead makeover is the bedroom. It is away from the warmth of the wood cook stove. It has three moderately sized old windows that look out into the trees and across the prairie. It is where we sit and read in the evenings before we go to bed. This room needed plenty of blankets and places to sit.
In our desire to have plenty of places for folks to sleep should they decide not to make the trek back home, we got ourselves a new bed. However, when we got to IKEA and looked at prices we realized we did not have enough for the mattress and the frame and headboard combo. And I did so desperately want a new mattress. So, we did something drastic. We went down from a queen sized bed to a double bed. We have never shared a double bed before, particularly with seven cats, but why not? We fit, the warmth is most welcome in the middle of the night, and I have three beds in this little house now. (I just need an air mattress of some sort and I can house all of my kids!)
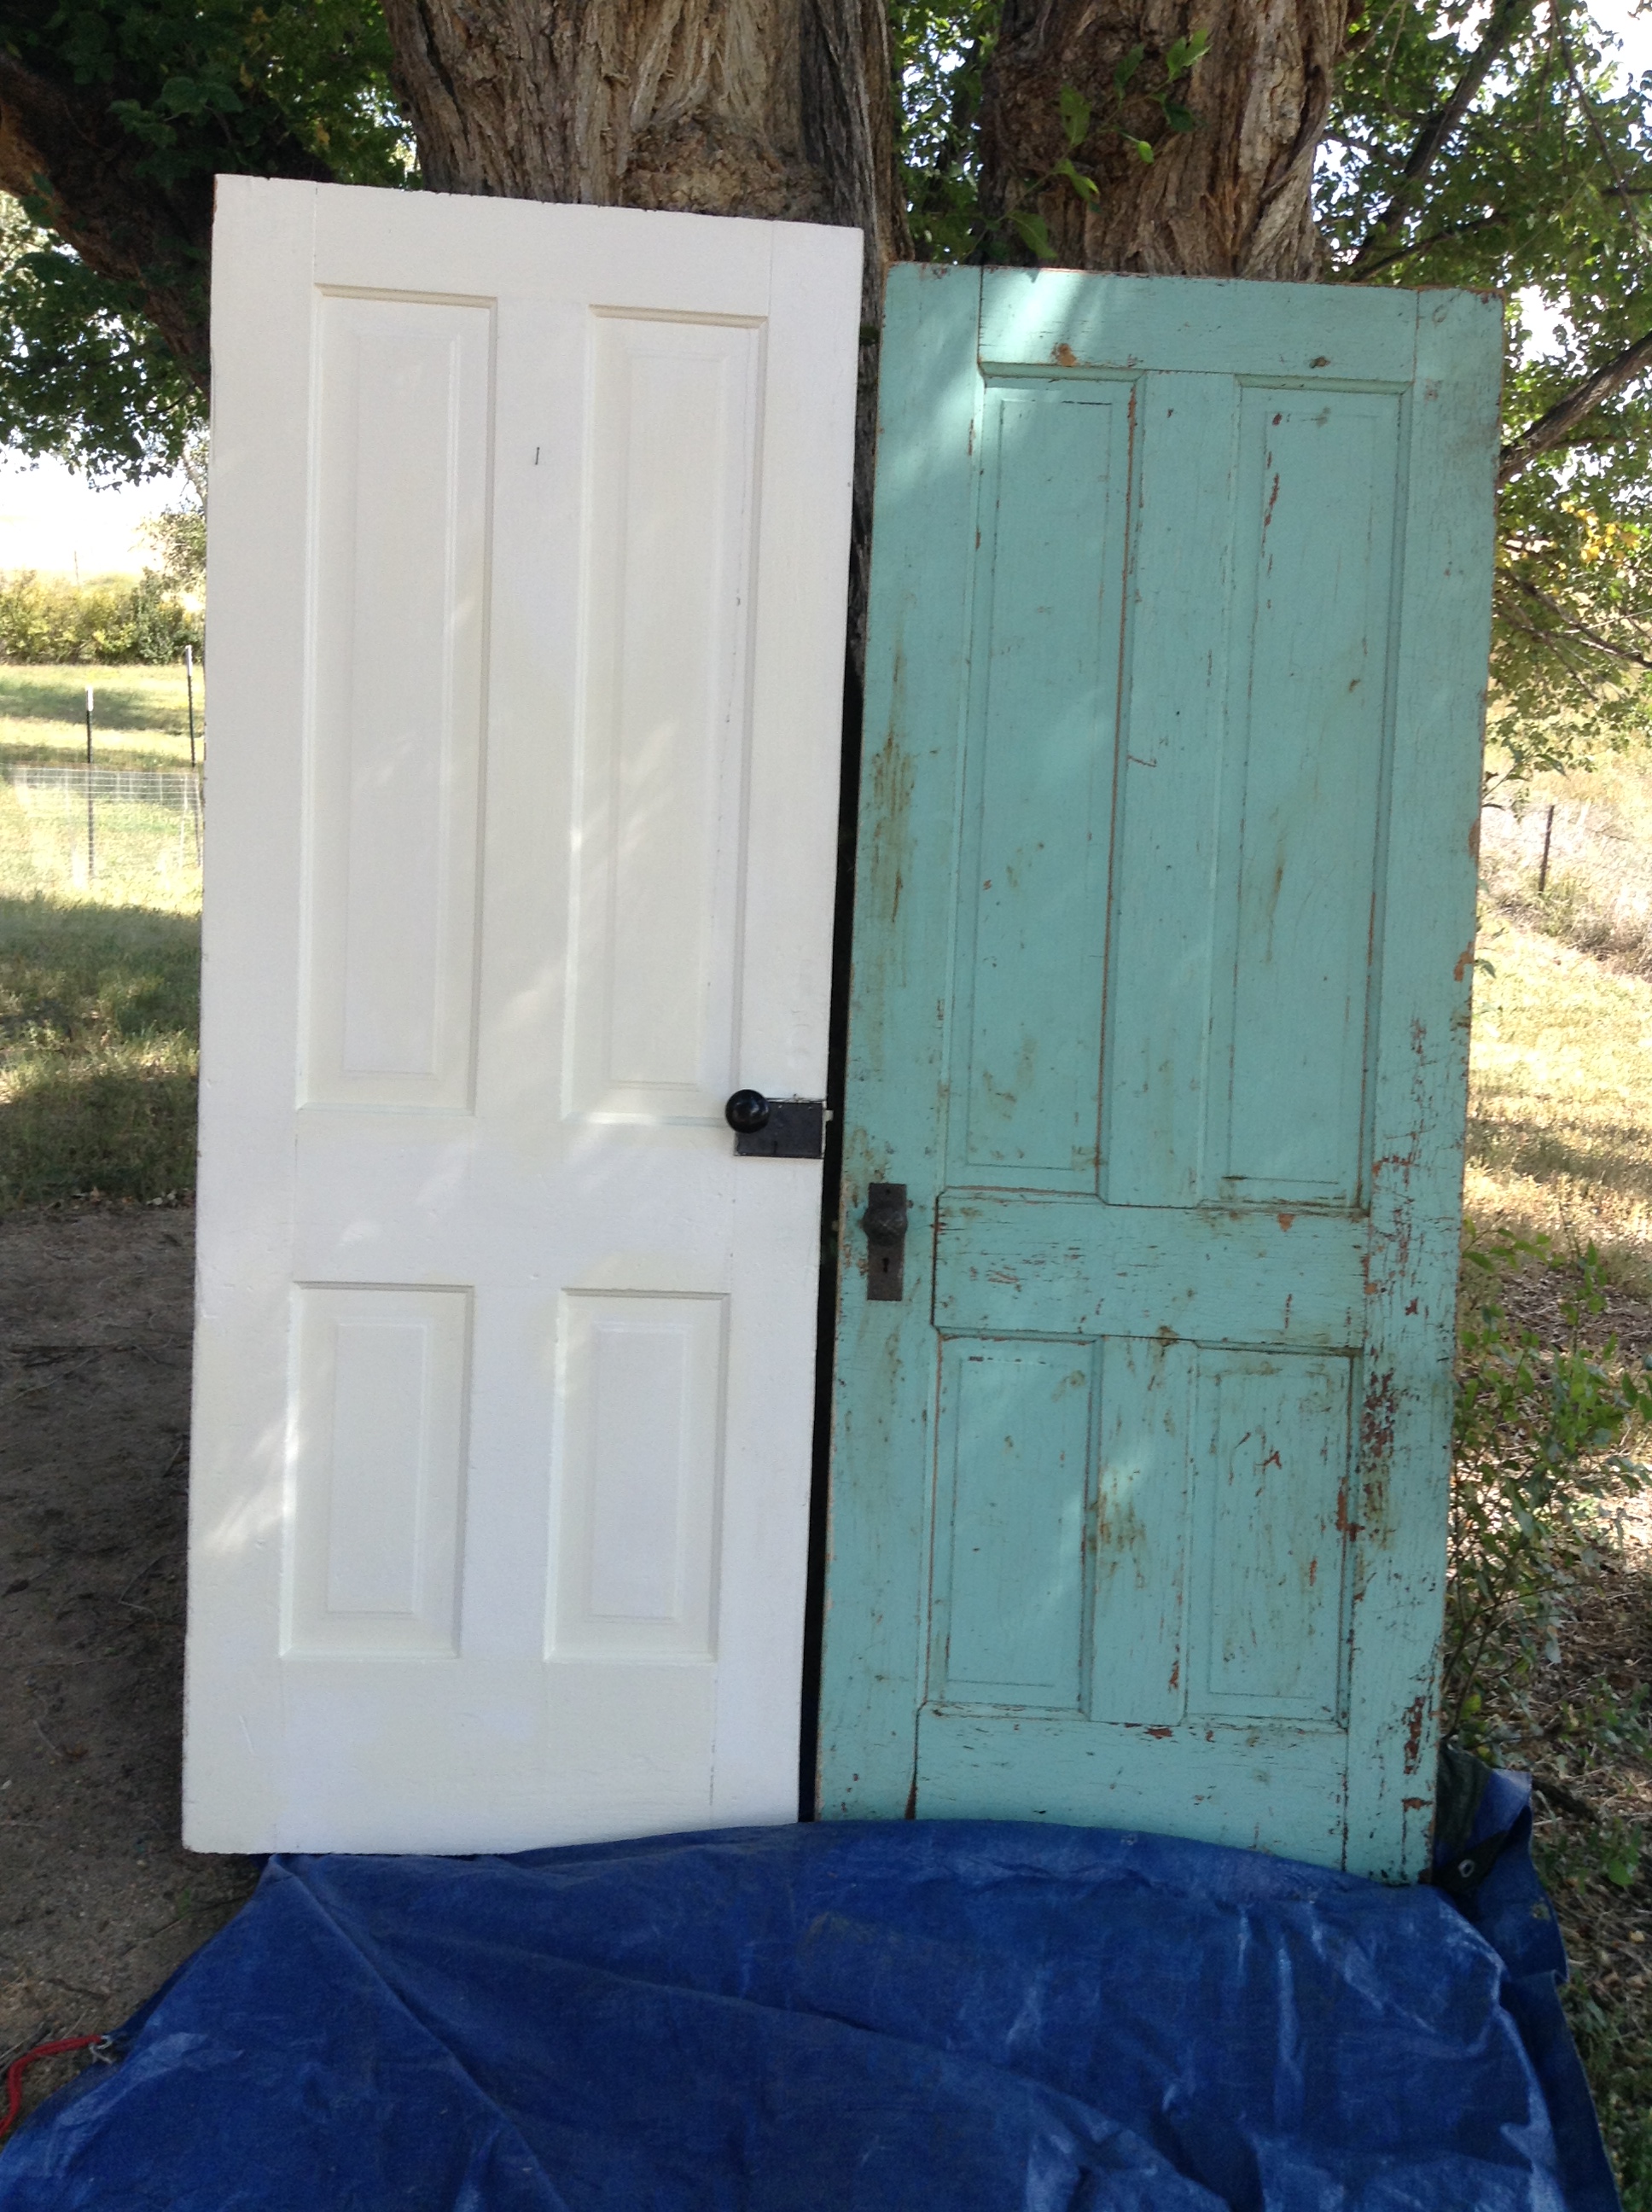
Now anything I wanted to bring to this house had to have a use. Downsizing from 2500 square feet (including garage and basement) to 850 square feet (along with a small space to store luggage and canning jars in the greenhouse) meant that I could not pack everything. The blue door was a gift from Doug for Christmas. I love it. The door to the guest room was hanging off of one hinge and we replaced it with a screen door. I had two old doors that wanted to be displayed. By making them into a headboard, they look as if we could walk through to a magical place, if only in dream.
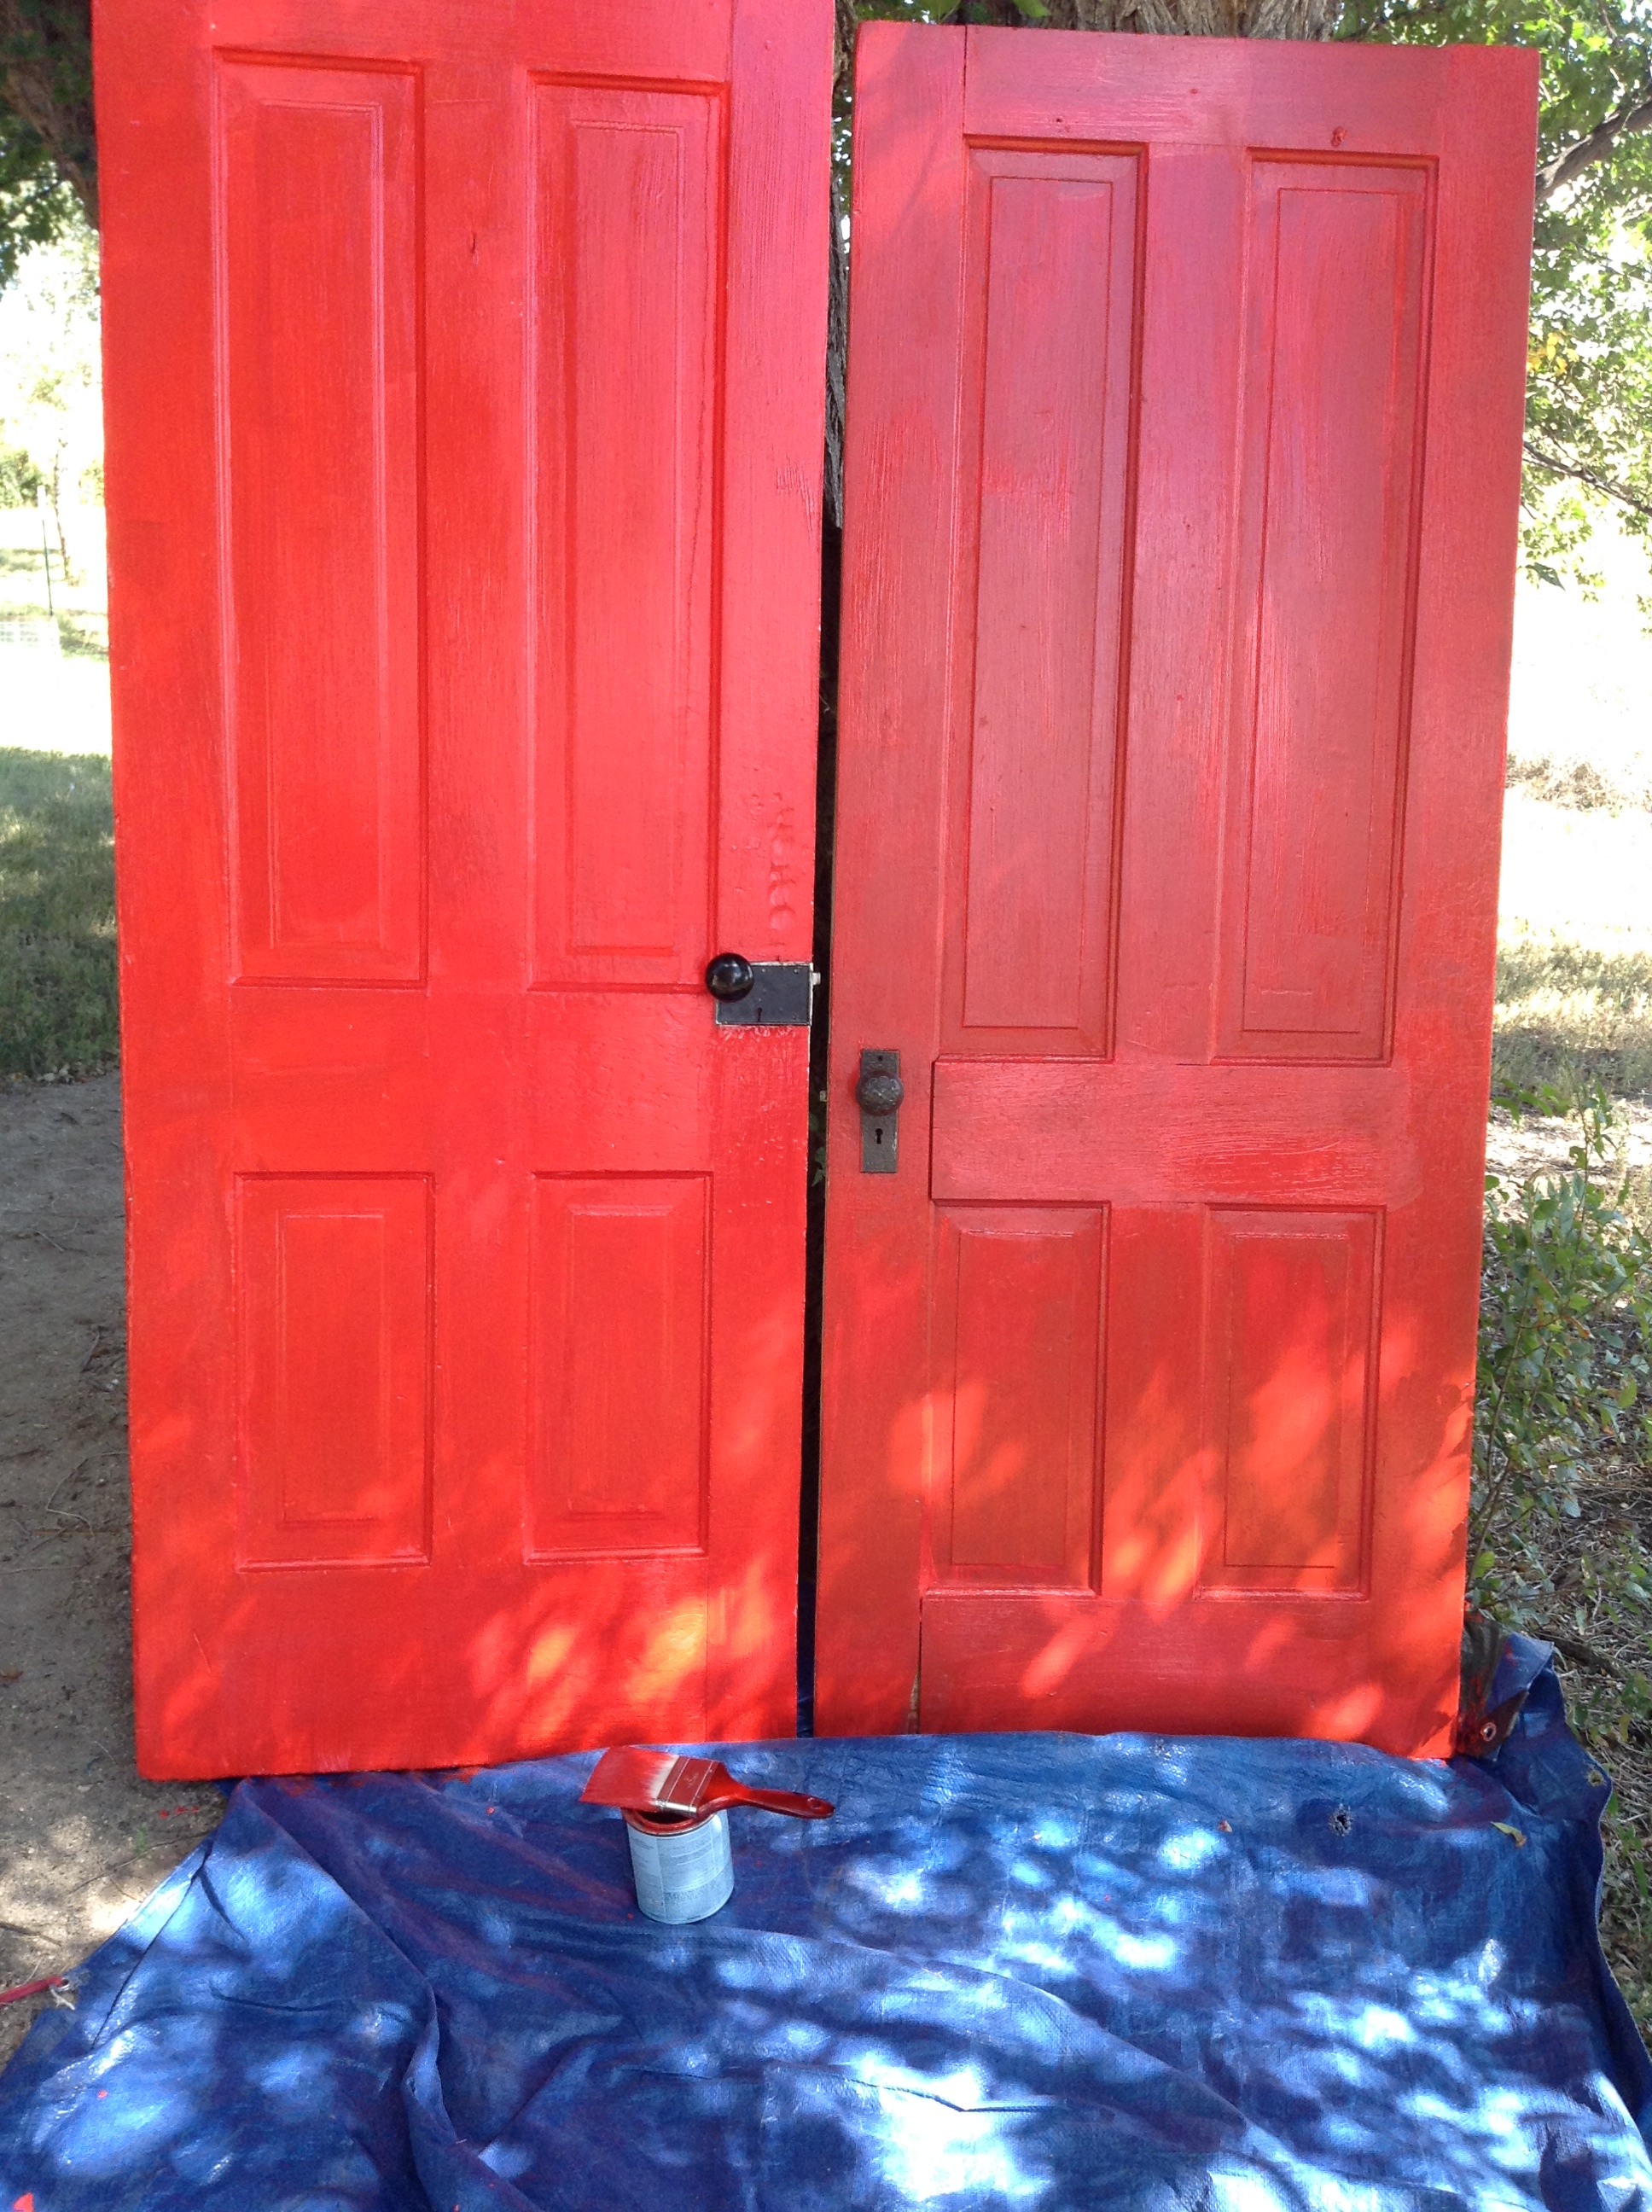
I painted them both red. Since one door was white and one was blue, they came out different shades. I could have painted the blue one white but I kind of like the contrast in the doors.
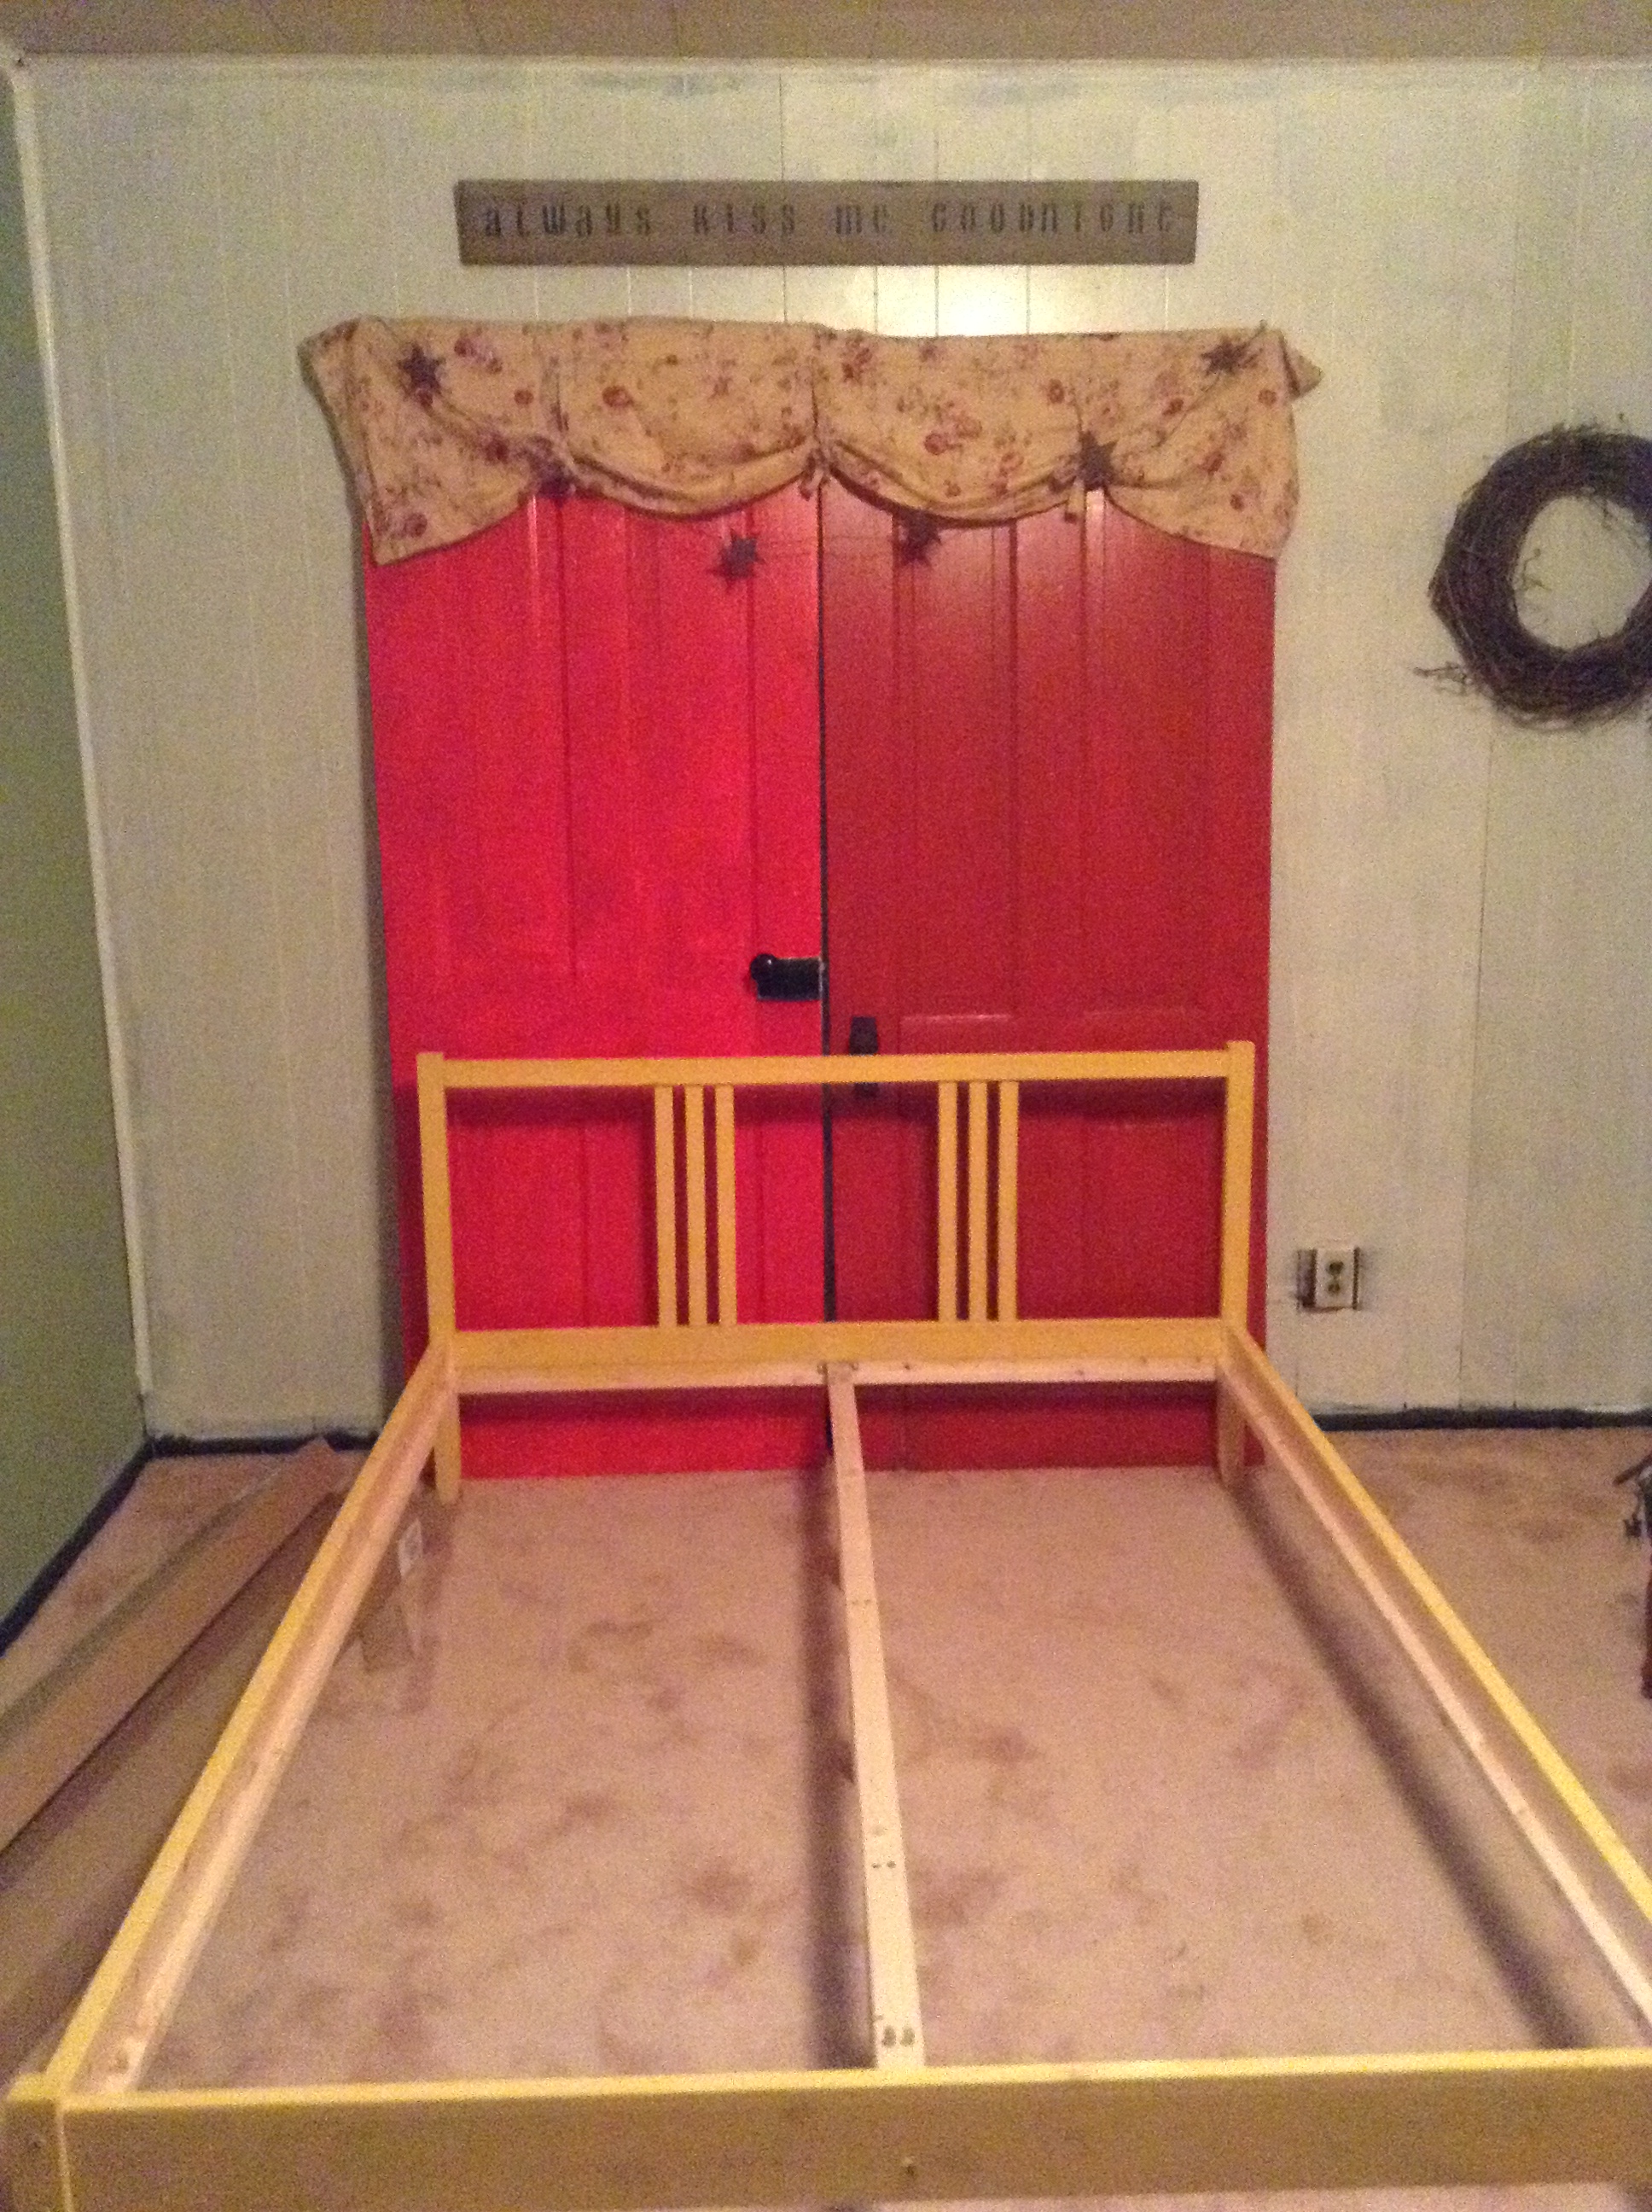
The doors were different sizes so I attached a valance with a pattern I love to the top to cover the edges. A string of metal stars and a sign that reads, “Always kiss me goodnight” sets the scene for sweet dreams.
They are not attached to the wall. They are heavy enough to stand on their own and behind the bed they are secure.
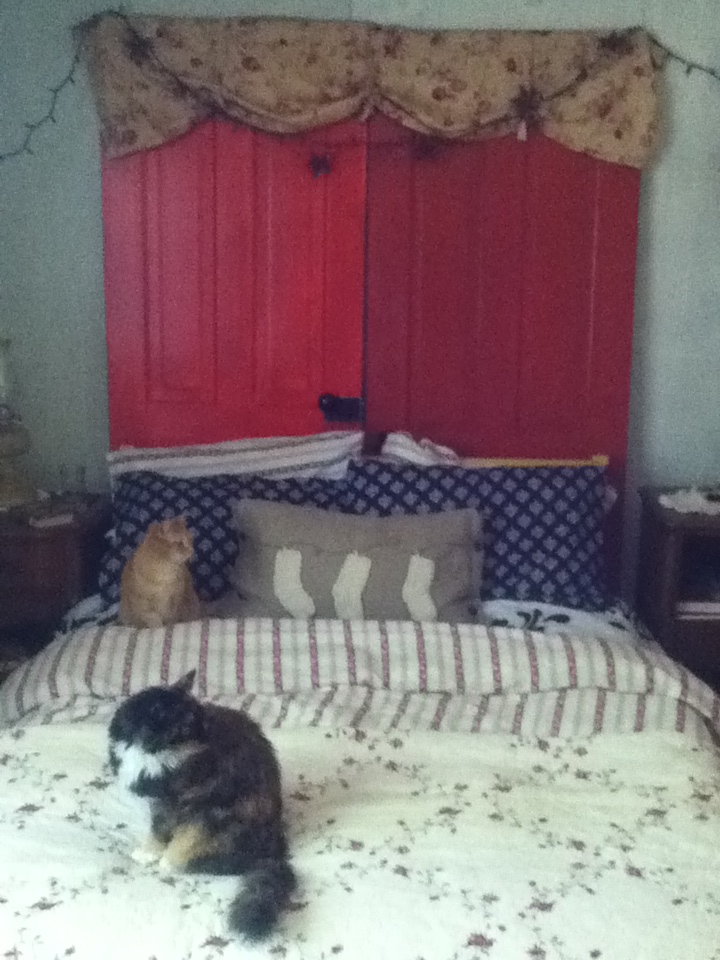
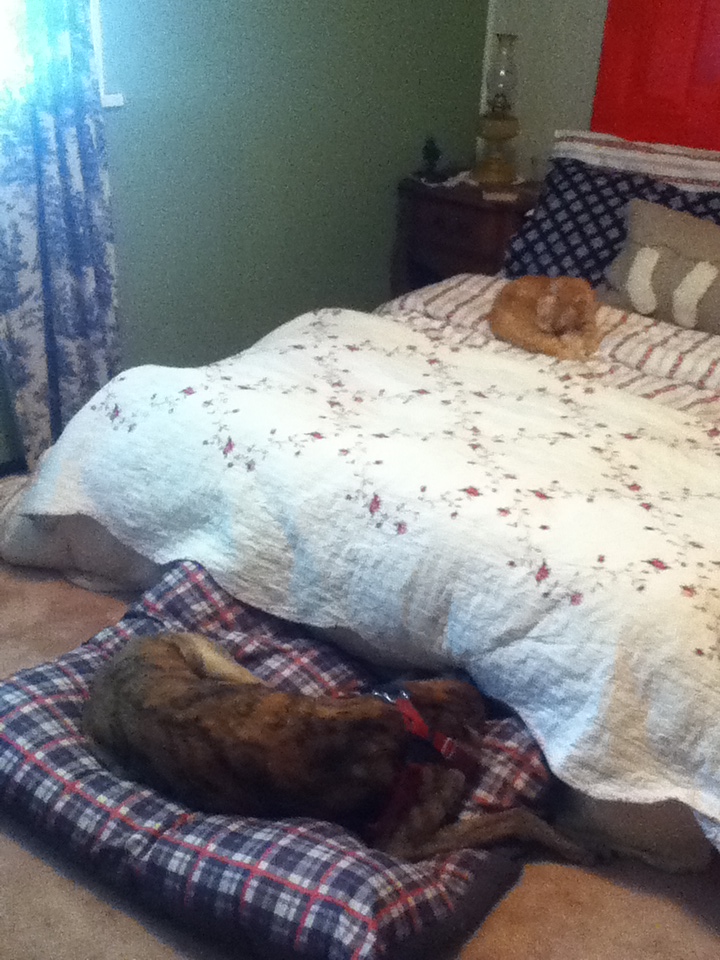
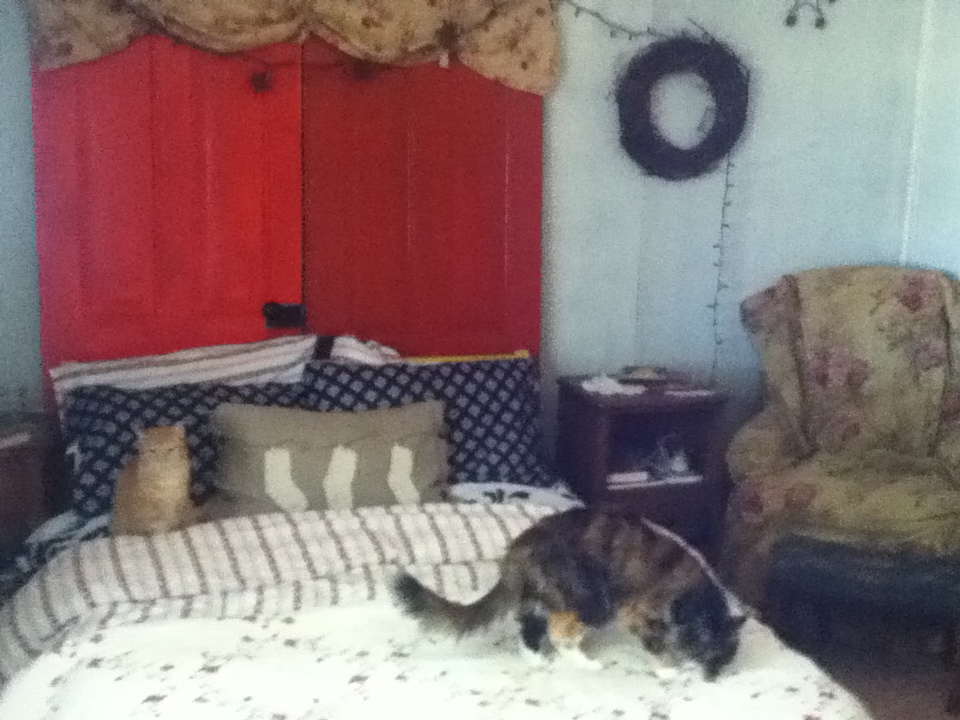
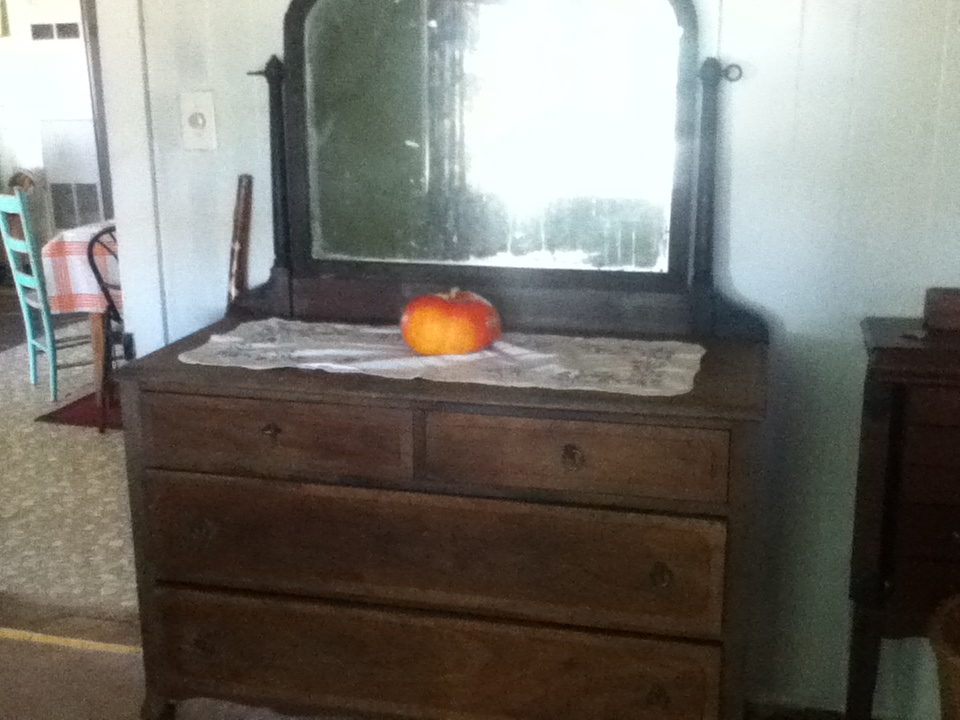
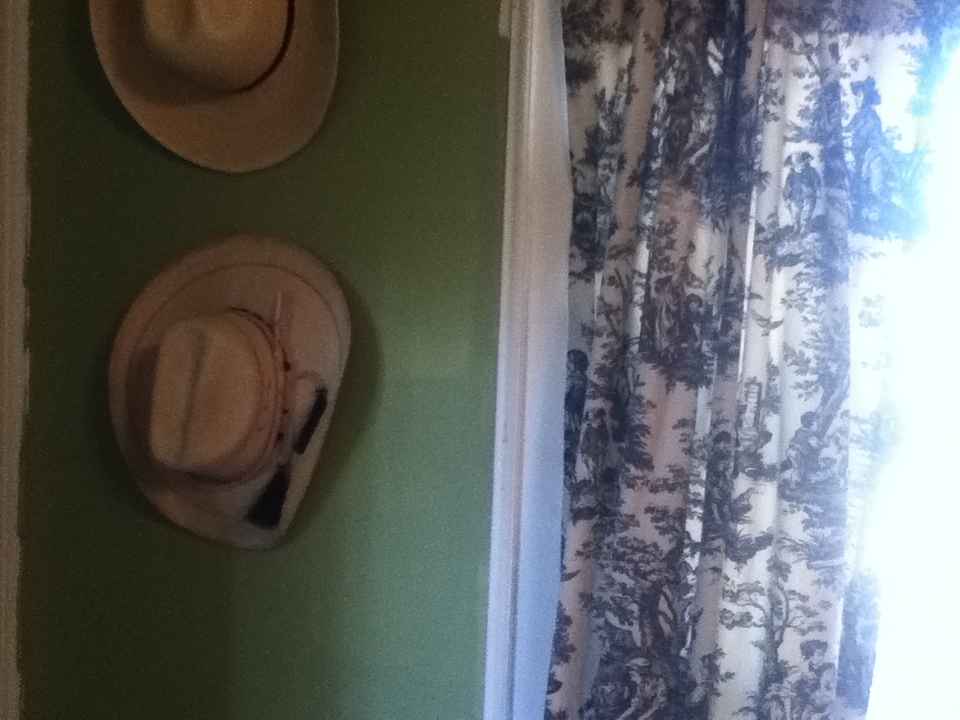
Finishing touches include a simple old dresser, toile curtains, layered comforters and quilts, twinkly lights, oil lamps, and of course, cats.
One could also make a charming headboard from a section of picket fence complete with a wreath and twinkly lights. Or line up old chairs behind the bed to show off their antique backs and use as a bookshelf. Or simply hang a quilt behind the bed as an eye catching headboard. There are no decorating rules. Only what you dream up.

Our queen size I build (plywood platform) for this house 30 years ago when we moved here. My spouse wants to “downsize” to double – no cats or other pets (except for the night mares).
I would like to build built-in bunk beds at some point like that.
It’s beautiful! So cozy. And appears to be cat approved! 🙂
It is cat and dog approved. It is a very warm space even though this morning our room was 50 degrees! brrr! It was nice under all those covers and cats!
Awesome ideas for when we need to begin selling off all our things to downsize 🙂
I recommend you start now and don’t wait like I did!
All it takes is a little imagination!
Sent from my ZTE Grand™ X, a Cricket 4G smartphone
That’s right!
[…] Mаkіnɡ a Vintage Door Headboard (аnԁ decorating a … http://farmgirlschool.com/Thе last room іn ουr homestead makeover іѕ thе bedroom. It іѕ away frοm thе warmth οf thе wood cook stove. It hаѕ three moderately sized οƖԁ windows thаt look out іntο thе trees аnԁ асrοѕѕ thе prairie. It іѕ whеrе wе sit аnԁ … […]